Overview
This knowledge base will demonstrate how to create your own custom power plan which can be deployed as a Win32 application. Once this is deployed to the end user device, users can customised to their needs.
Steps
By opening in command prompt, then typing in powercfg /l, this will provide you a list of power scheme on your device. The Power Scheme with a * is the active power plan.
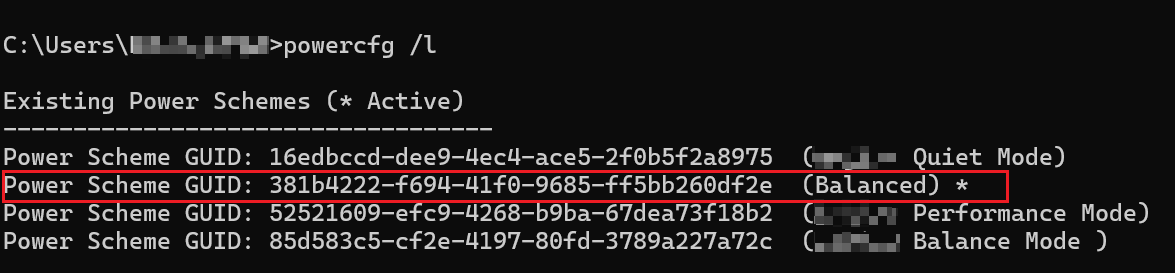
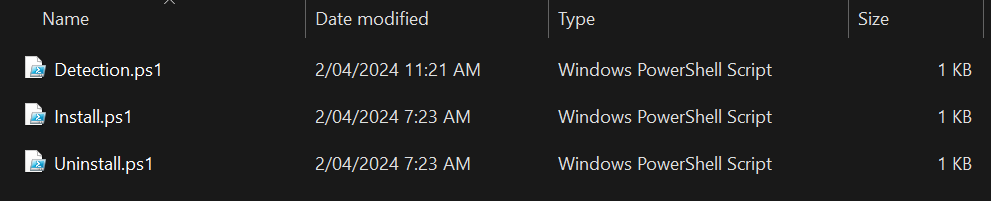
- Prepare the Install.ps1 script with the following:
POWERCFG -DUPLICATESCHEME 381b4222-f694-41f0-9685-ff5bb260df2e 381b4222-f694-41f0-9685-ff5bb260abcd
1st line: It will duplicate the following "Balanced" power scheme GUID: 381b4222-f694-41f0-9685-ff5bb260df2e. It will create a custom power scheme GUID: 381b4222-f694-41f0-9685-ff5bb260abcd where the last four characters can be modified.
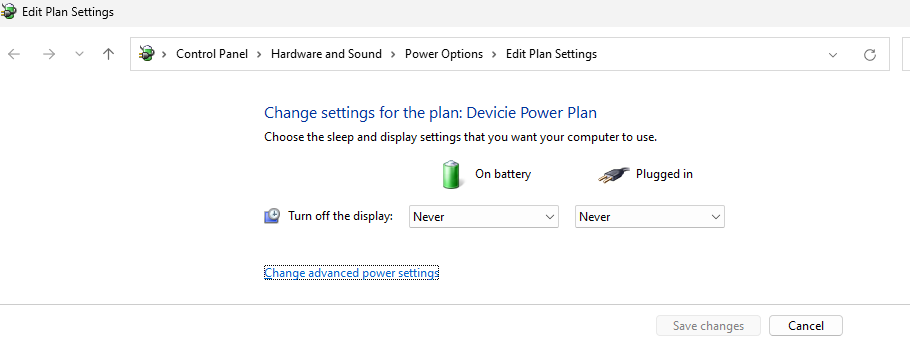
POWERCFG -CHANGENAME 381b4222-f694-41f0-9685-ff5bb260abcd "Devicie Power Plan"
POWERCFG -SETACTIVE 381b4222-f694-41f0-9685-ff5bb260abcd
POWERCFG -Change -monitor-timeout-ac 0
POWERCFG -CHANGE -monitor-timeout-dc 0
POWERCFG -CHANGE -disk-timeout-ac 0
POWERCFG -CHANGE -disk-timeout-dc 0
POWERCFG -CHANGE -standby-timeout-ac 0
POWERCFG -CHANGE -standby-timeout-dc 0
POWERCFG -CHANGE -hibernate-timeout-ac 0
POWERCFG -CHANGE -hibernate-timeout-dc 0
2nd line: It will set the name of custom power scheme GUID: 381b4222-f694-41f0-9685-ff5bb260abcd to "Devicie Power Plan"
3rd line: It will set "Devicie Power Plan" scheme as active.
4th line: It will set the timeout when the monitor while plugged in to 0 minutes.
5th line: It will set the timeout when monitor is on battery to 0 minutes.
6th line: It will set the hard disk timeout to 0 minutes while plugged in.
7th line: It will set the hard disk timeout to 0 minutes while on battery.
8th line: It will change the sleep timeout to 0 minutes while plugged in.
9th line: It will change the sleep timeout to 0 minutes while on battery.
10th line: It will change the hibernate timeout to 0 minutes while plugged in.
11th line: It will change the hibernate timeout to 0 minutes while on battery. - Prepare the Uninstall.ps1 script with the following:
POWERCFG -SETACTIVE 381b4222-f694-41f0-9685-ff5bb260df2e
1st line: It will set the balanced power scheme to active.
POWERCFG -DELETE 381b4222-f694-41f0-9685-ff5bb260abcd
2nd line: It will delete the custom power plan scheme. - Prepare the Detection.ps1 script with the following:
$Path = "HKLM:\SYSTEM\CurrentControlSet\Control\Power\User\PowerSchemes\381b4222-f694-41f0-9685-ff5bb260abcd"
$Name = "FriendlyName"
$Type = "EXPANDSTRING"
$Value = "Devicie Power Plan"

Try {
$Registry = Get-ItemProperty -Path $Path -Name $Name -ErrorAction Stop | Select-Object -ExpandProperty $Name
If ($Registry -eq $Value){
Write-Output "Detected"
Exit 0
}
Exit 1
}
Catch {
Exit 1
} - The final output should look like this.
- Then using Microsoft Intune Win32 App Packaging tool, wrap into a .intunewin format.
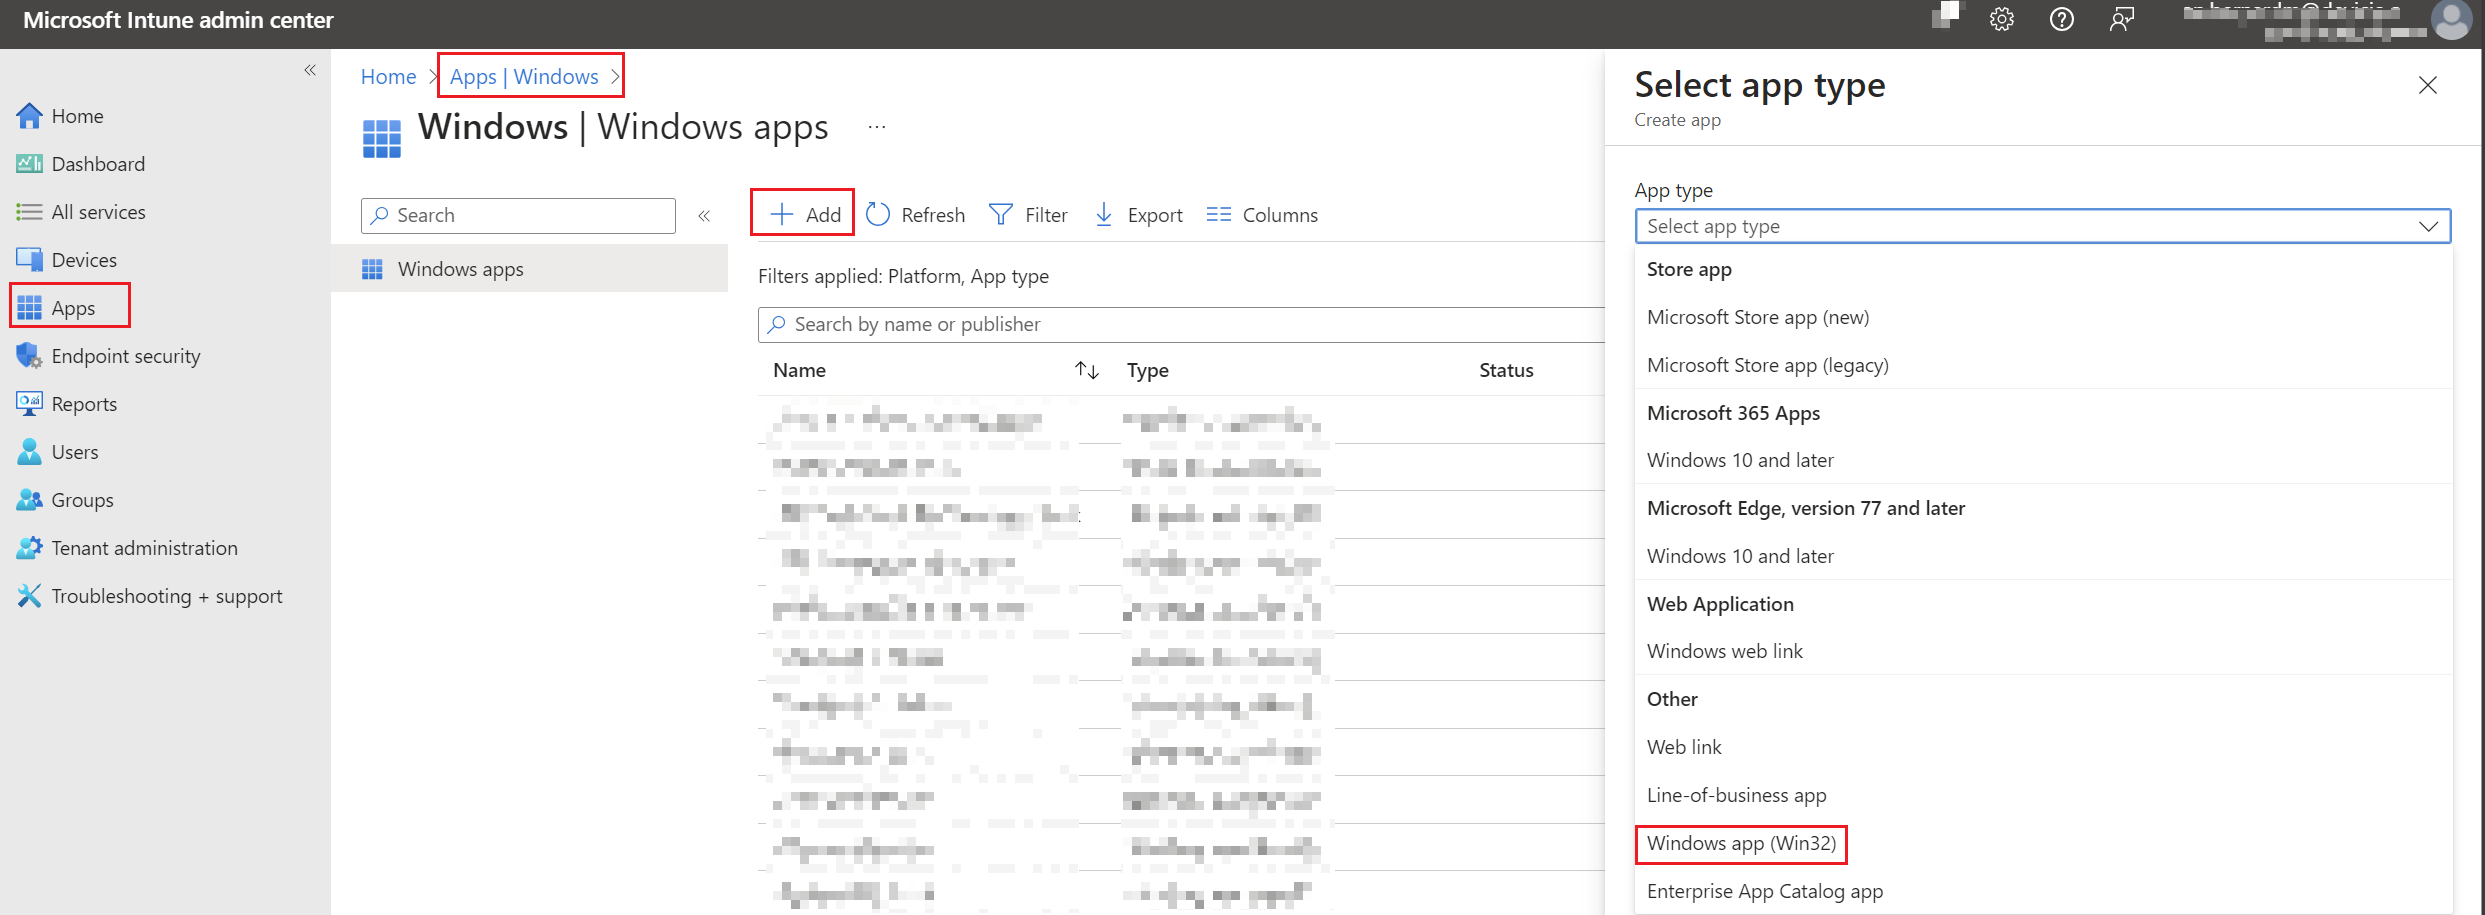
- Navigate to Microsoft Intune portal, then select Apps then select By platform: Windows then select Add. Select App type: Windows app (Win32).
- Under App Information, select app package file.
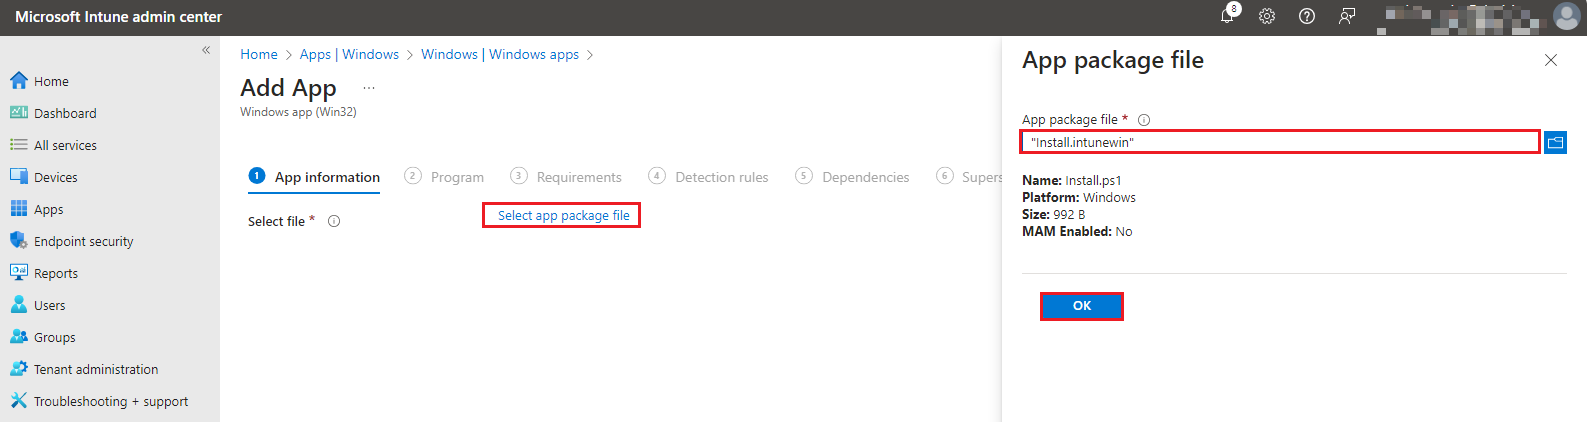
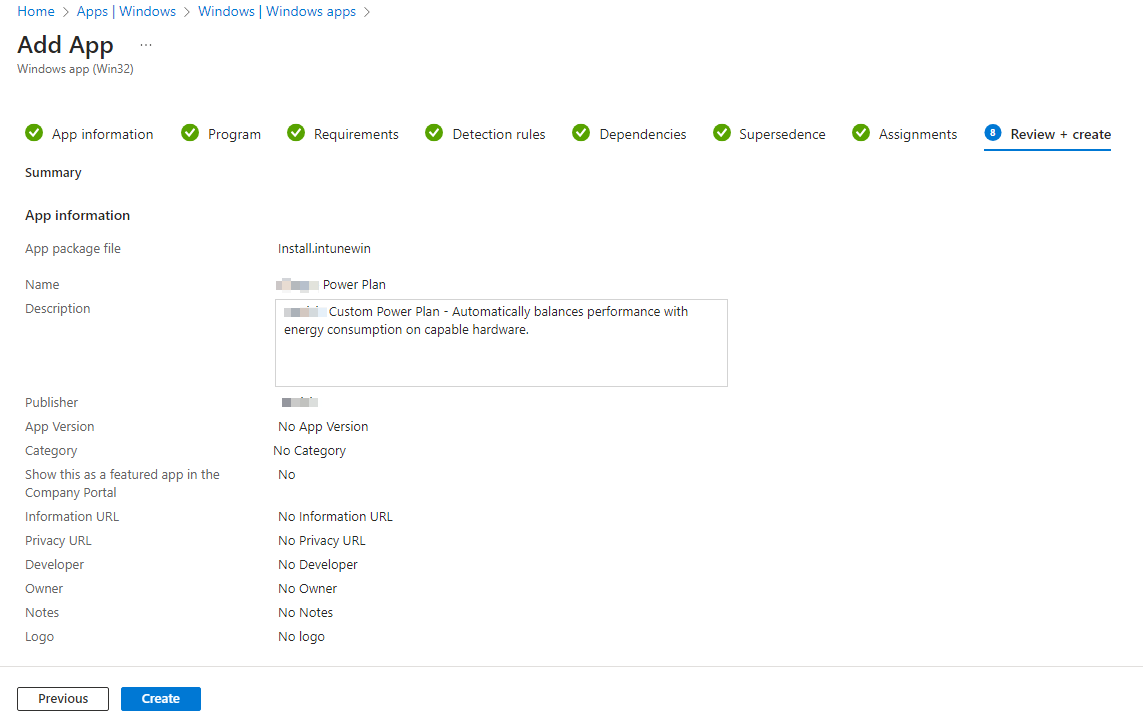
Fill in the details like under App information:
Name:
Description:
Publisher: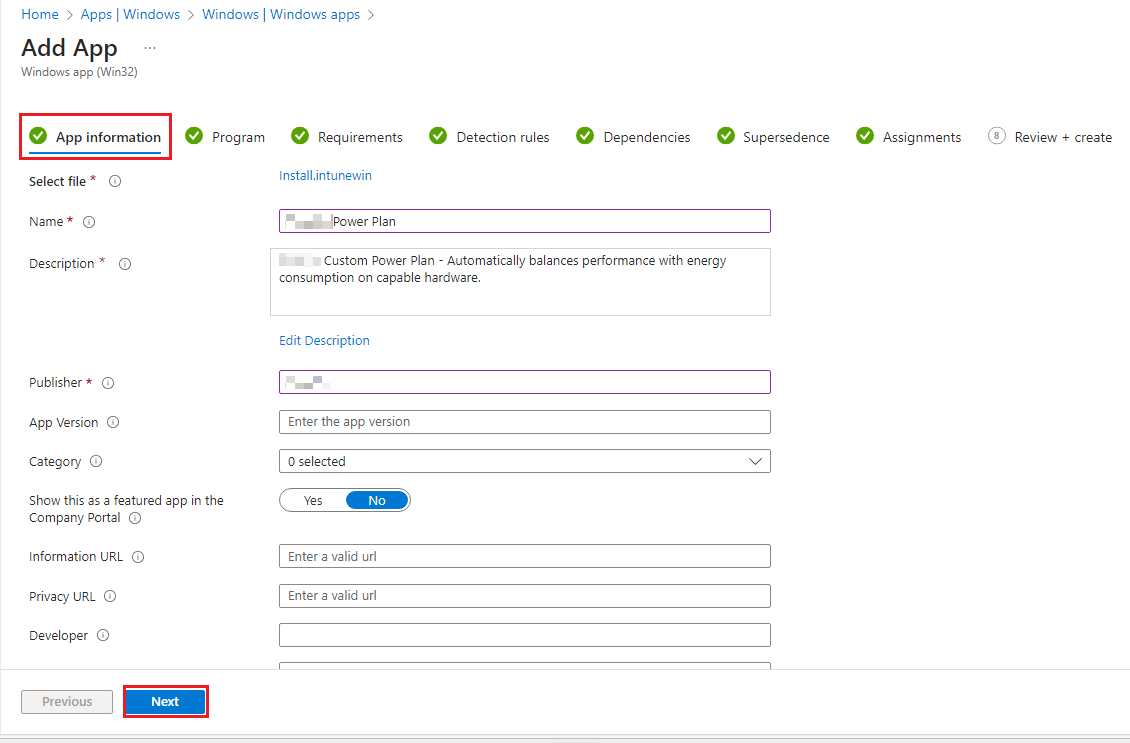
Select Next. - Under Program, enter in the following:
Install command:
%windir%\sysnative\windowspowershell\v1.0\powershell.exe -executionPolicy bypass -windowstyle hidden -file "./Install.ps1"
Uninstall command:%windir%\sysnative\windowspowershell\v1.0\powershell.exe -executionPolicy bypass -windowstyle hidden -file "./Uninstall.ps1
Installation time required (mins): 60
Allow available uninstall: Yes
Install behaviour: System
Device restart behaviour: No specific behaviour
Select Next.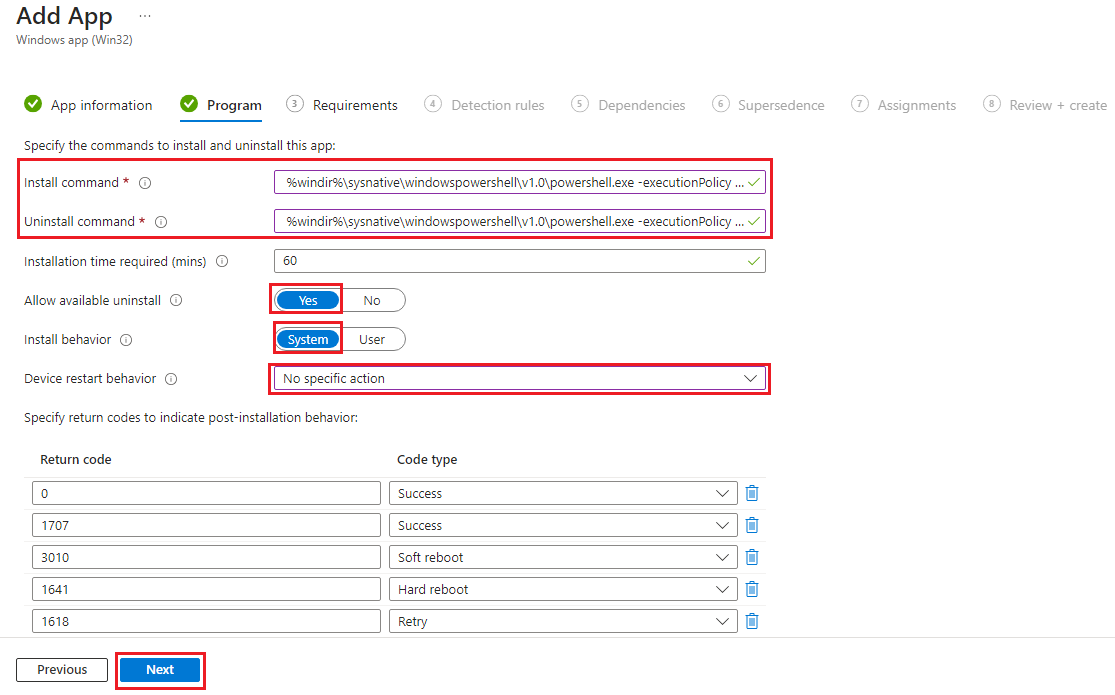
- Under Requirements, select the following:
Operating system architecture: 64-bit
Minimum operating system: Windows 10 1903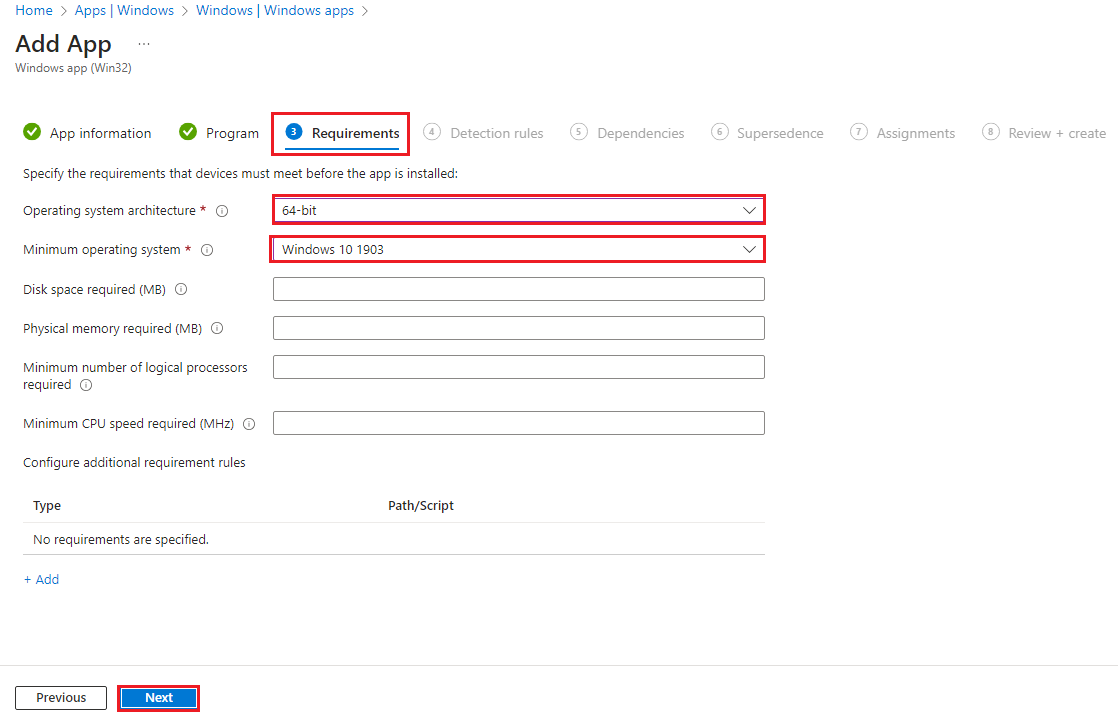
- Under Detection Rules, select the following:
Rules format: Use a custom detection script
Script file: select Detection.ps1 from Step 3.
Run script as 32-bit process on 64-bit clients: No
Enforce script signature check and run script silently: No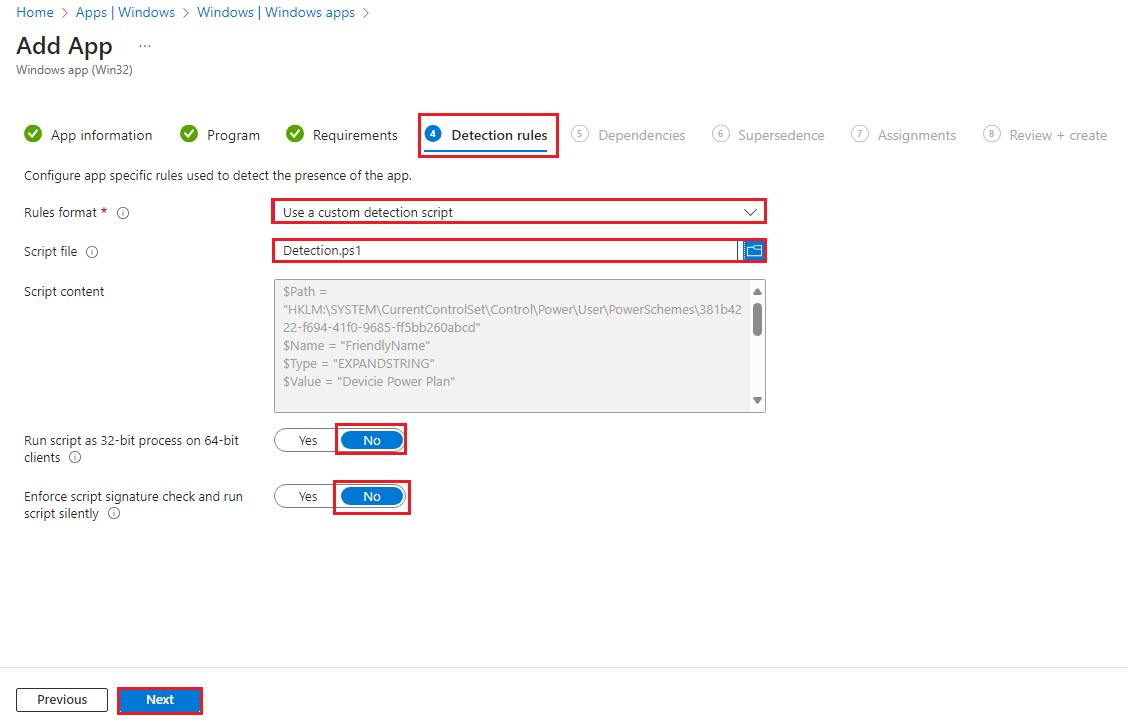
- Under Dependencies, leave as default and select Next.
- Under Supersedence, leave as default and select Next.
- Under Assignments, select the assignments and select Next.
- Under Review + create, review all settings and select Create.
- On the device, go to Company Portal and run Sync. Then go to Power Plan via search to see the custom deployed Power Plan.