Overview
This knowledge base article will provide a step by step on how to prepare a Win32 App for Microsoft Project 365.
Setup
1. Select Download under Microsoft Office Deployment Tool.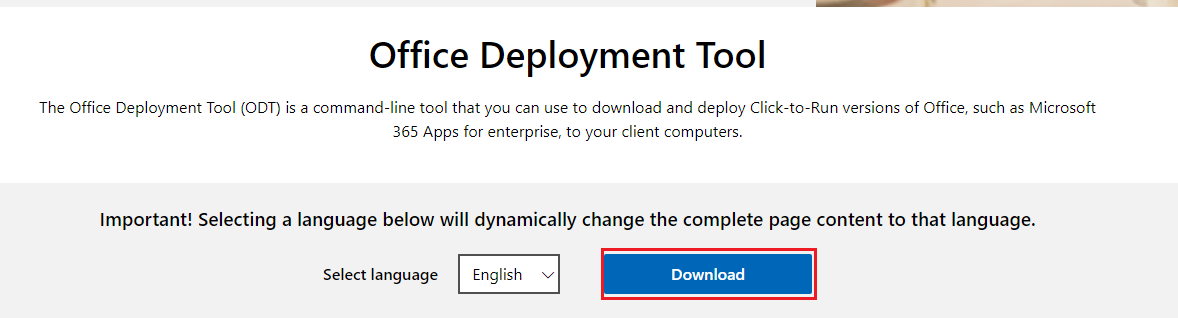
2. Run the officedeploymenttool_17830-20162.exe to extract the files to a file like C:\ODT. Click OK
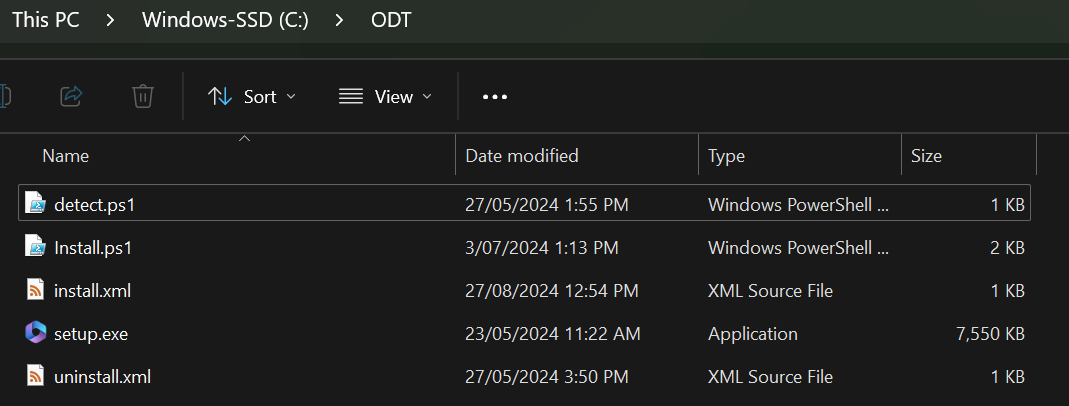
By navigating to C:\ODT, you will see the following: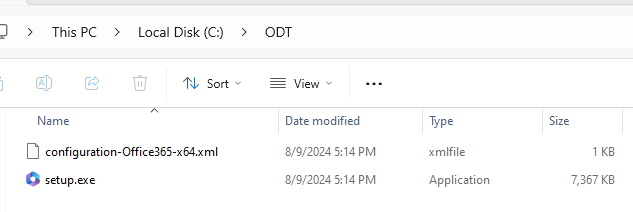
3. Navigate to https://config.office.com to customise your Microsoft 365 settings, select on 'Import your configuration'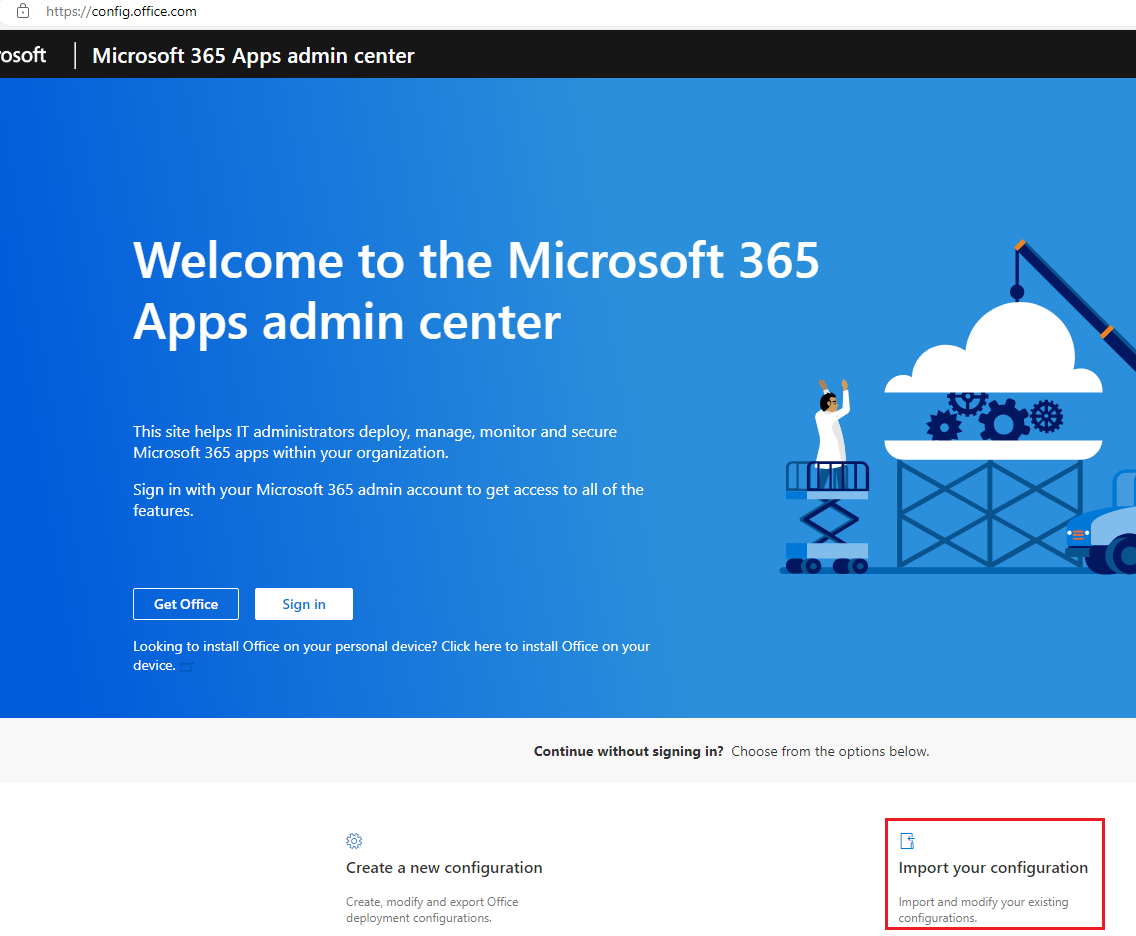
4. Under Deployment Settings, select the following:
Architecture: 64-bit
Products: Project Online Desktop Client
Update Channel: Monthly Enterprise Channel
Select the version: Latest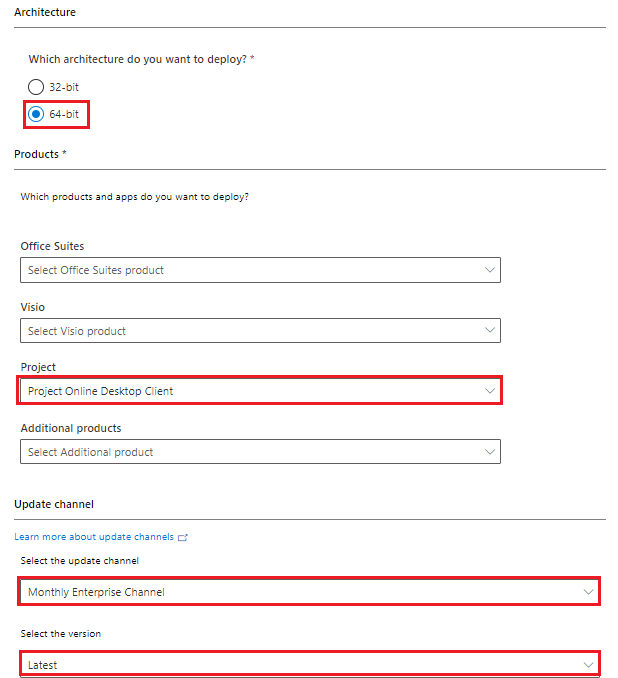
Language: Select English (United States)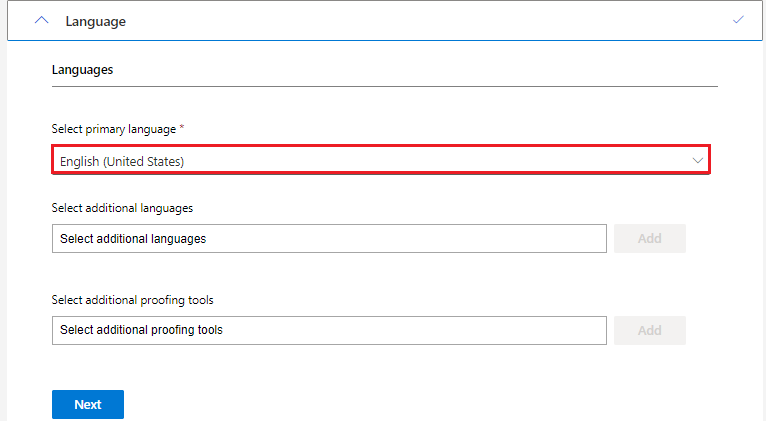
Installation: Select Office Content Delivery Network (CDN)
Show installation to user: On
Shut down running applications: On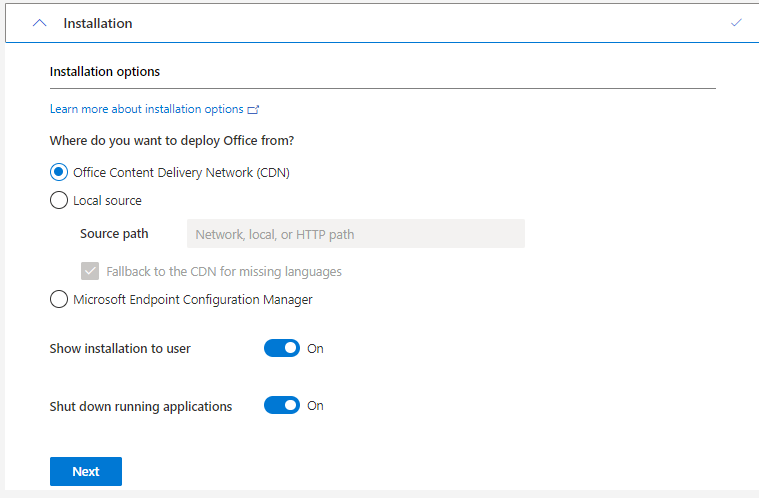
Under Update and upgrade options, select the following: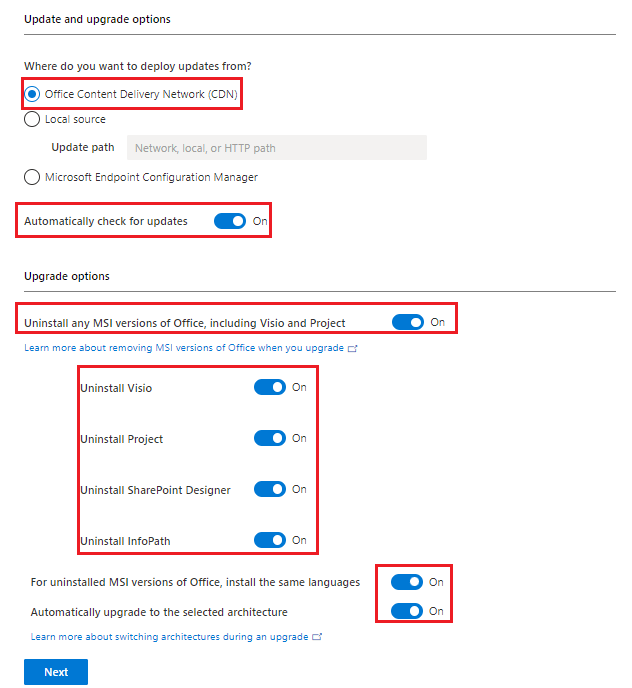
Under Licensing and activation, select the following: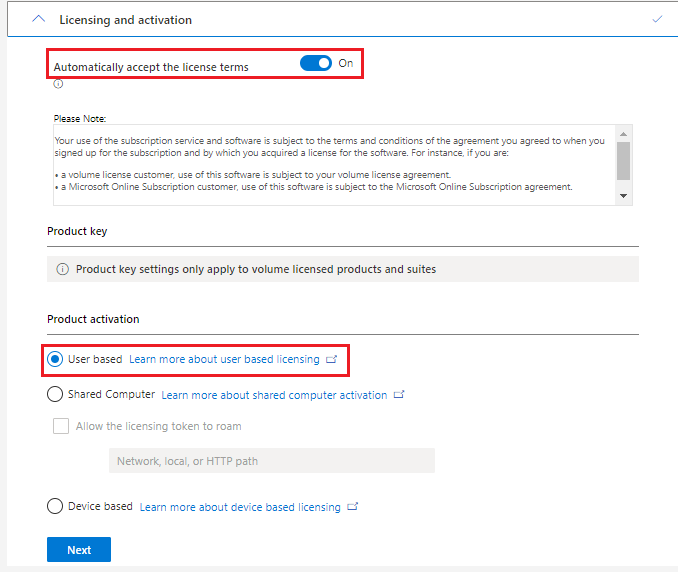
Under General, enter the name of the Company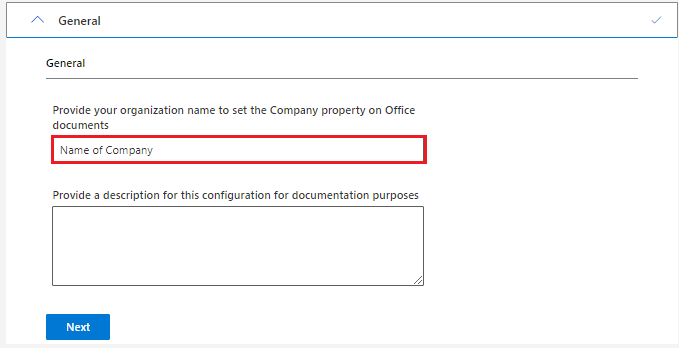
Under Application Preferences, this is optional to select to customise.
5. Once all settings have been finalised and reviewed, select Export.
6. Place the .xml into the same folder as C:\ODT
7. Rename the Configuration.xml to install.xml
<Configuration ID="c62c4443-0fcc-44b7-9c23-ca61eb39d653">
<Add OfficeClientEdition="64" Channel="MonthlyEnterprise" MigrateArch="TRUE">
<Product ID="ProjectProRetail">
<Language ID="en-us" />
<Language ID="MatchPreviousMSI" />
</Product>
</Add>
<Property Name="SharedComputerLicensing" Value="0" />
<Property Name="FORCEAPPSHUTDOWN" Value="TRUE" />
<Property Name="DeviceBasedLicensing" Value="0" />
<Property Name="SCLCacheOverride" Value="0" />
<Updates Enabled="TRUE" />
<RemoveMSI />
<AppSettings>
<Setup Name="Company" Value="Name of Company" />
</AppSettings>
<Display Level="Full" AcceptEULA="TRUE" />
</Configuration>
8.Create another .xml called uninstall.xml with the following settings:
<Configuration>
<Display Level="None" AcceptEULA="True" />
<Property Name="FORCEAPPSHUTDOWN" Value="True" />
<Remove>
<Product ID="ProjectProRetail">
</Product>
</Remove>
</Configuration>
9. Create a detection file called detect.ps1 with the following settings:
$Path = "HKLM:\SOFTWARE\Microsoft\Windows\CurrentVersion\Uninstall\ProjectProRetail - en-us"
$Name = "DisplayName"
$Type = "STRING"
$Value = "Microsoft Project - en-us"

Try {
$Registry = Get-ItemProperty -Path $Path -Name $Name -ErrorAction Stop | Select-Object -ExpandProperty $Name
If ($Registry -eq $Value){
Write-Output "Detected"
Exit 0
}

Exit 1
}

Catch {

Exit 1
}
10. It should look like this:
11. Download and run this to package convert your package into a Win32 app. Once it has been down, the output is this.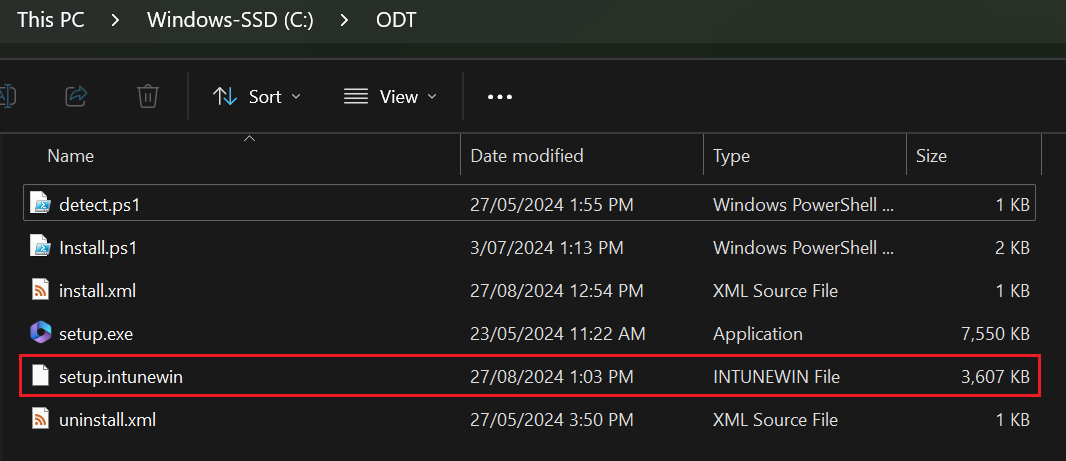
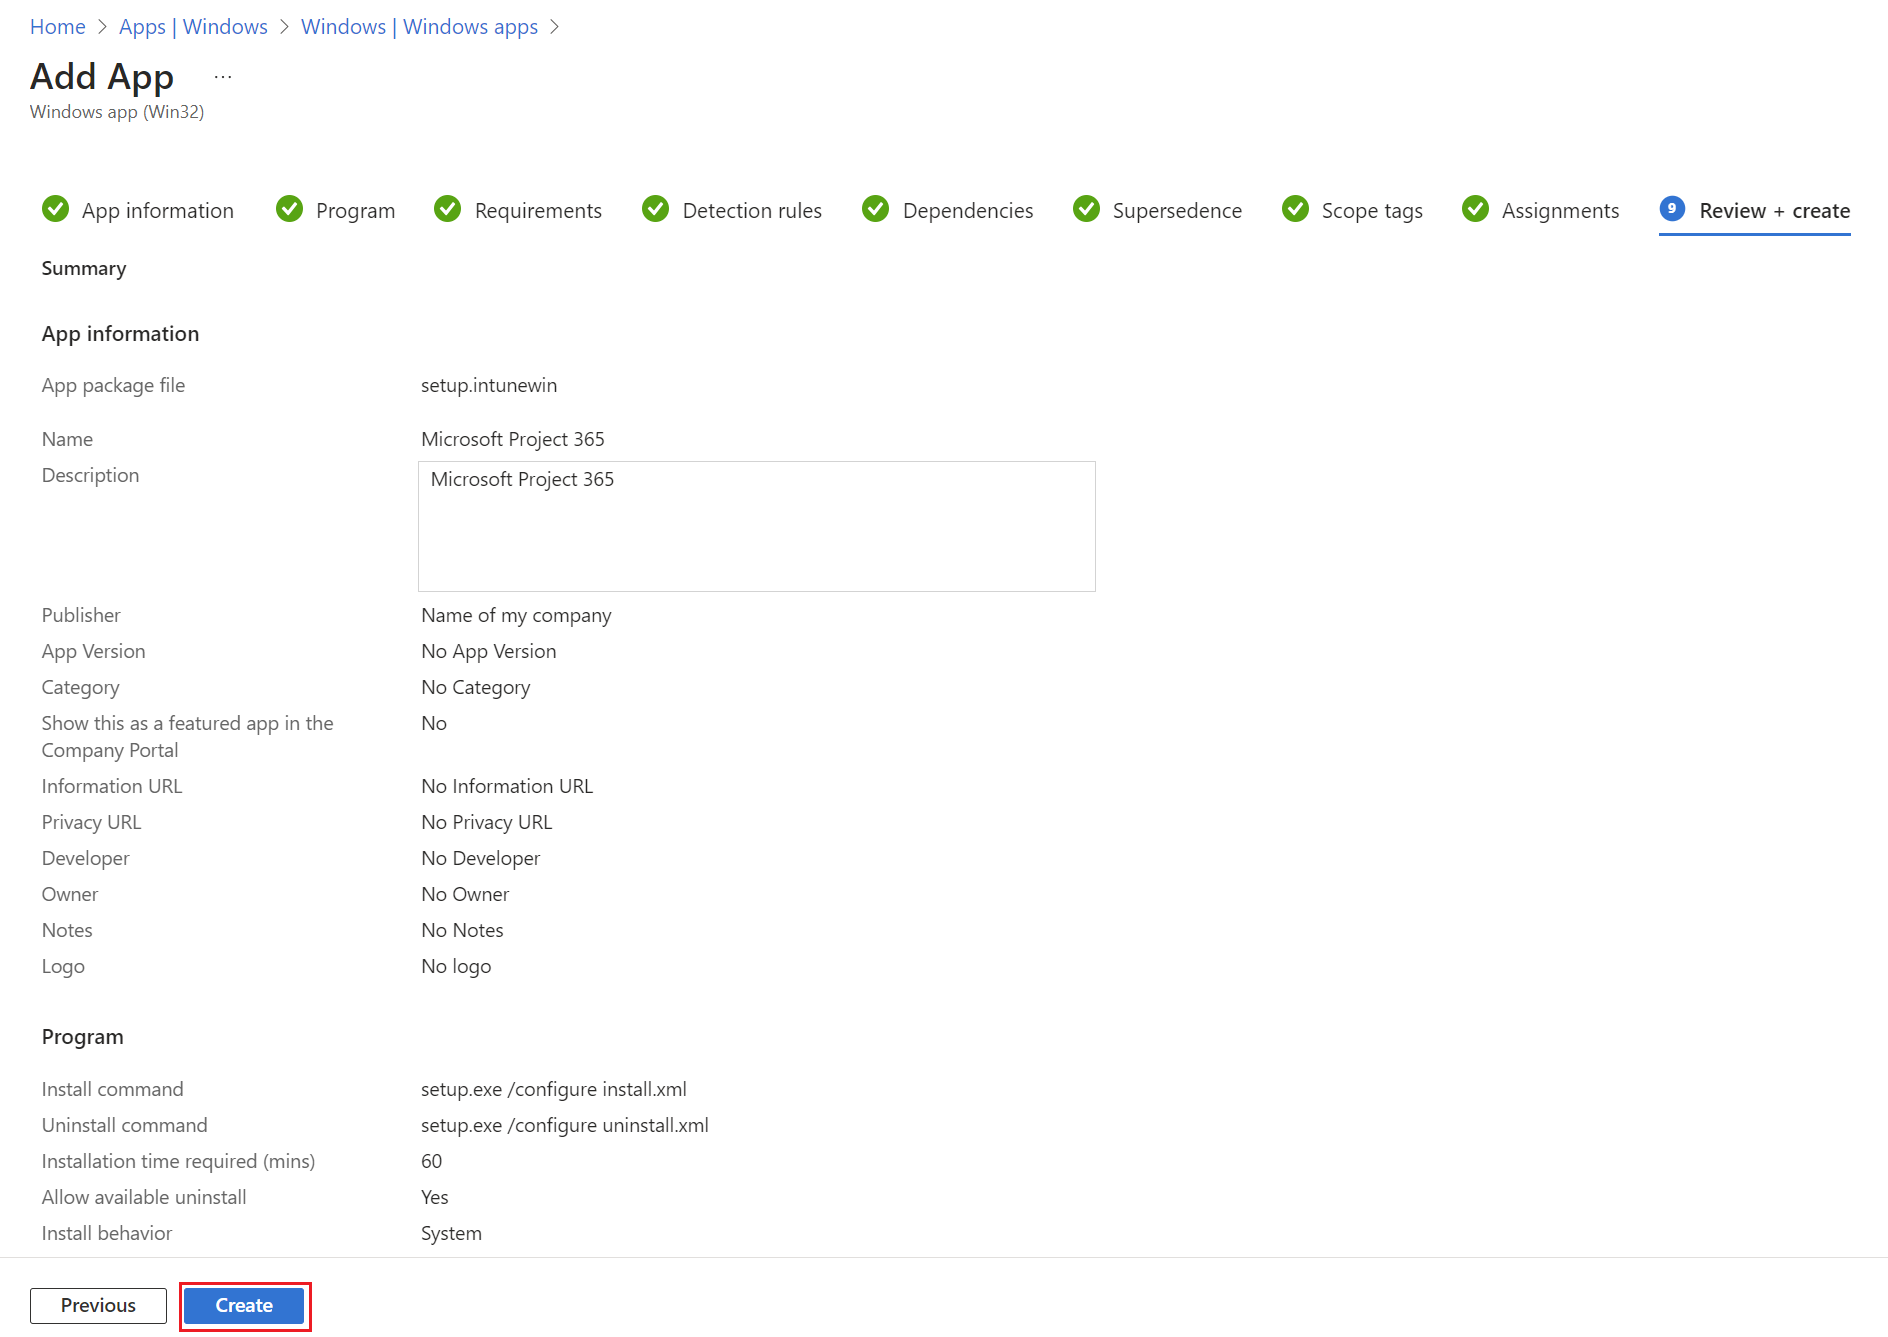
12. Navigate to https://intune.microsoft.com/ then select Apps then select By platform: Windows then select Add.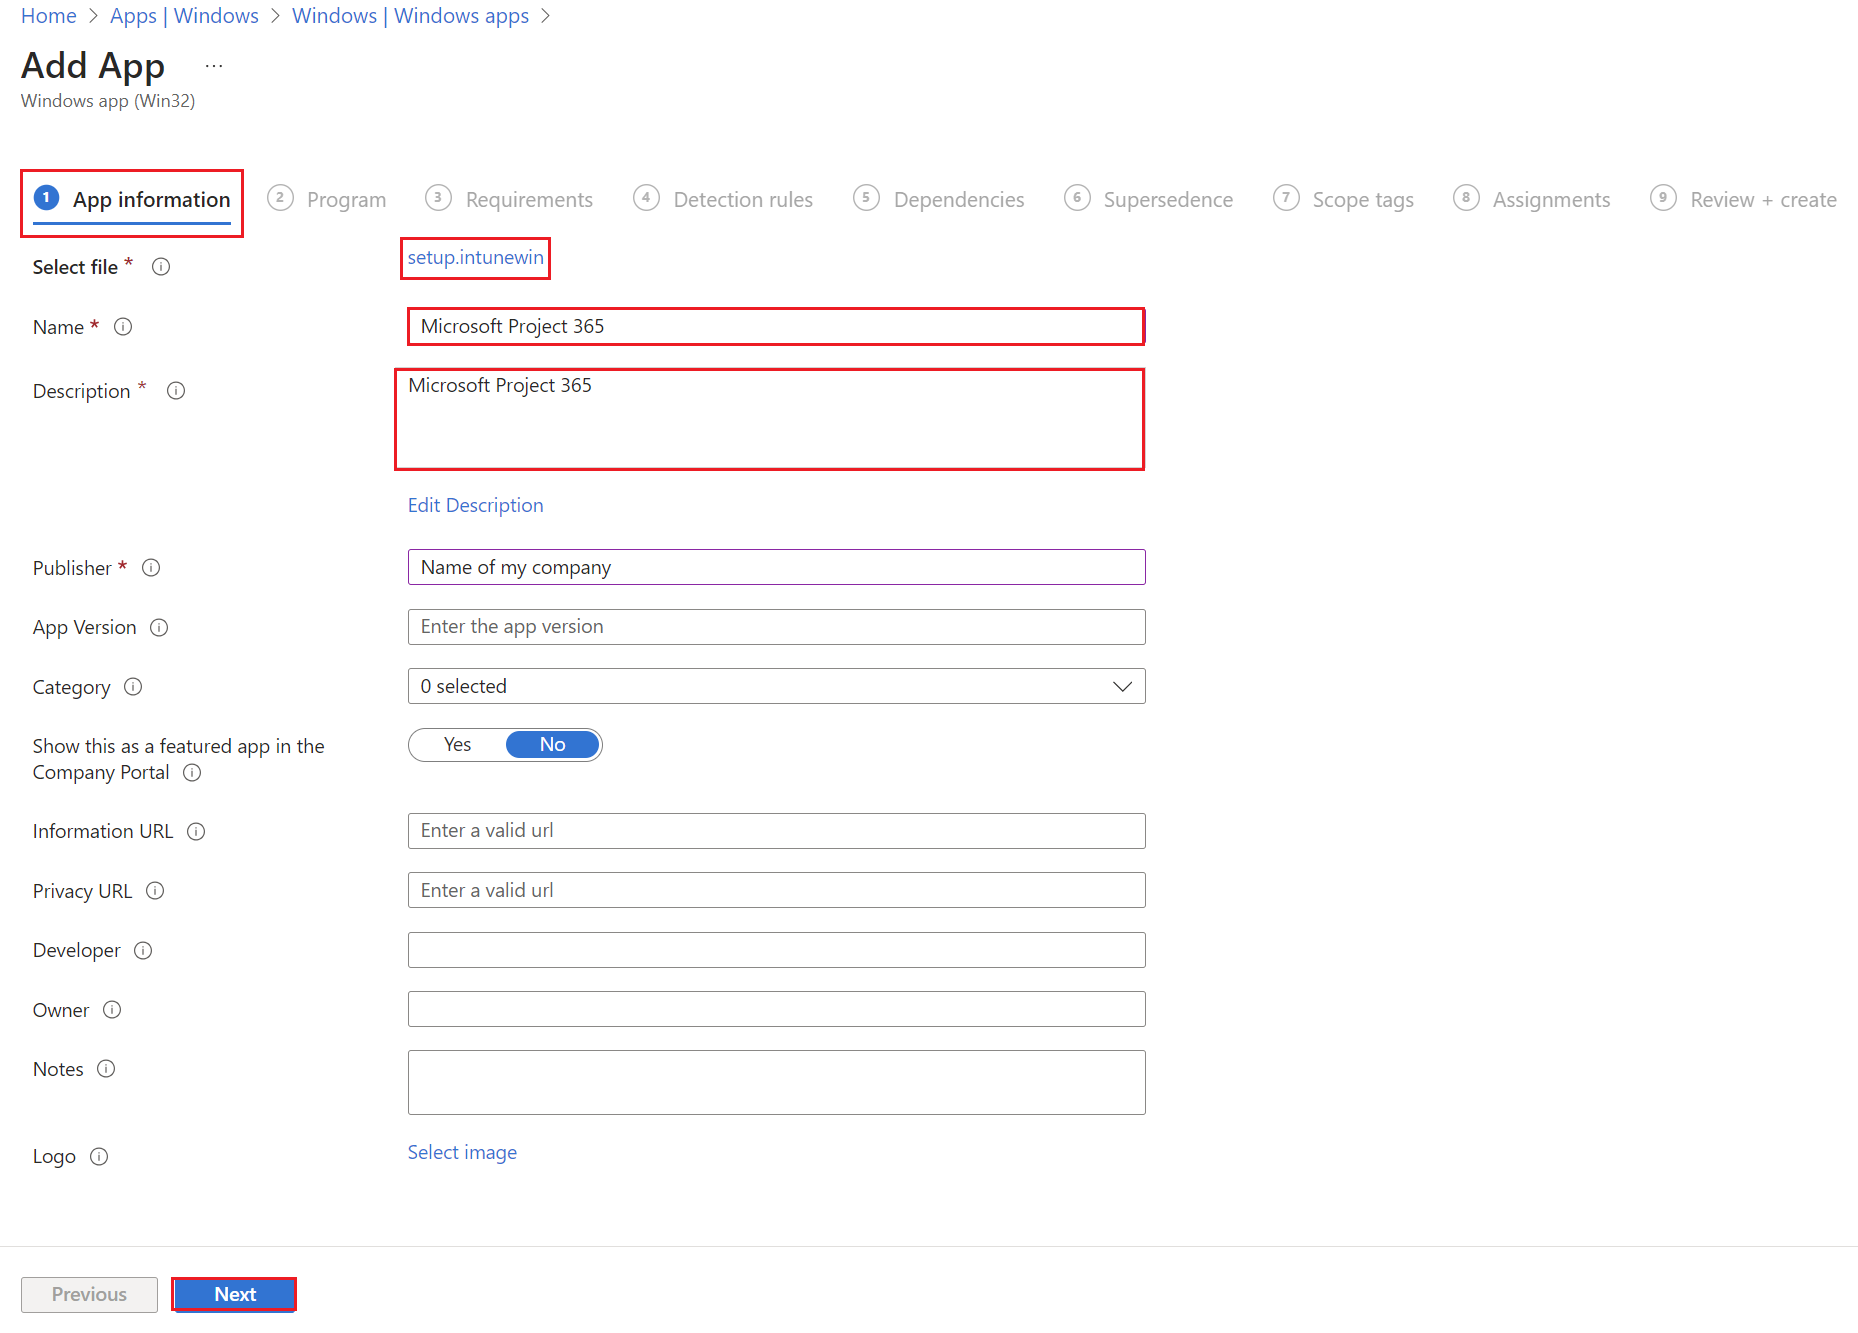
13. Under Program, select the following:
Install command: setup.exe /configure install.xml
Uninstall command: setup.exe /configure uninstall.xml
Installation time required (mins): 60
Allow available uninstall: Yes
Install behaviour: Yes
Device restart behaviour: Determine behaviour based on return codes
Then select Next.
14. Under Requirements, select the following:
Operating system architecture: 64-bit
Minimum operating system: Windows 10 1903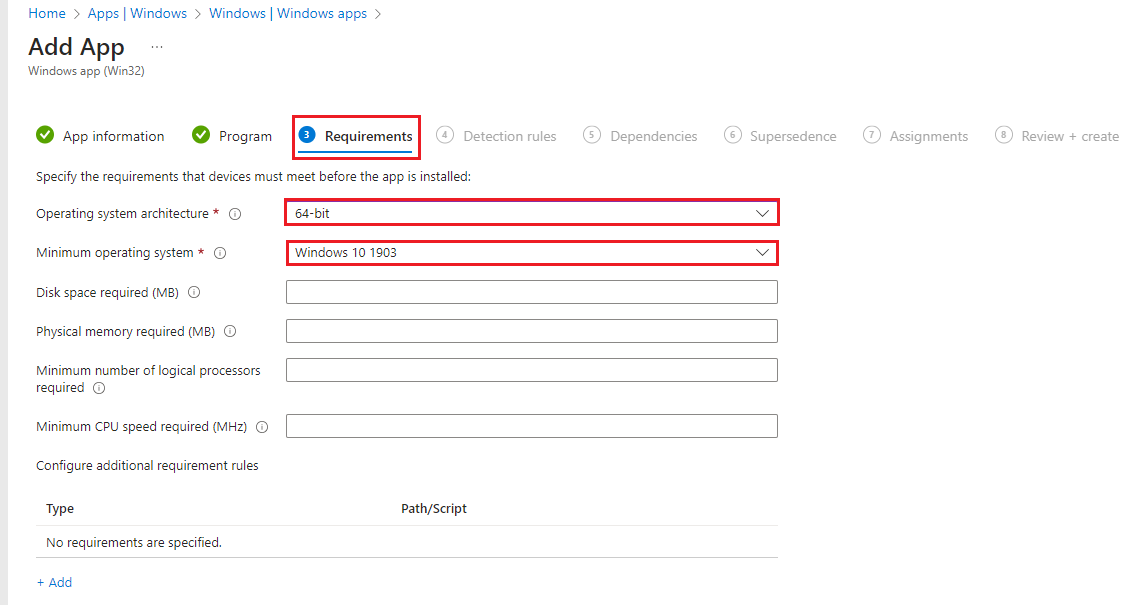
15. Under Detection rules, select 'Use a custom detection script' then select Next.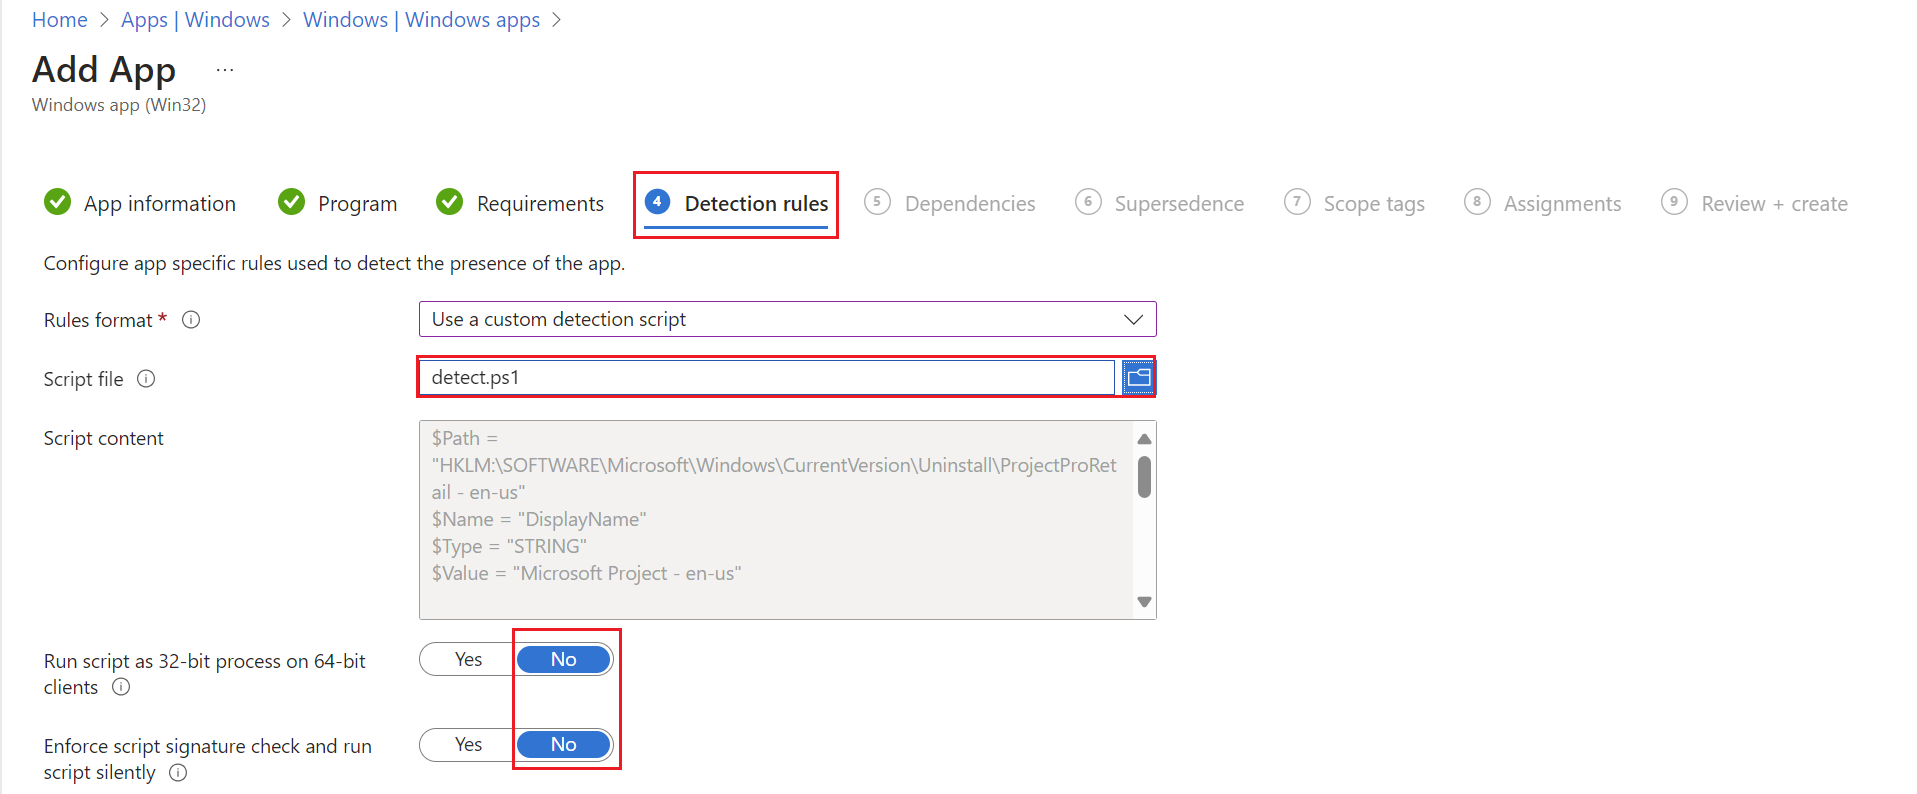
16. Under Dependencies, select Next.
17. Under Supersedence, select Next.
18. Under Assignments, select the required groups, then select Next.
19. Under Review + create, review the settings then select Create.