Overview
To support your use of certificates with Intune, you can install the Certificate Connector for Microsoft Intune on any Windows Server that meets the connector requirements (see below). The following sections will help you install and then configure the connector.
Requirements
You can view the requirements by following the Intune Certificate Connector.
Connector Installation
-
Download the Certificate Connector installation file from Endpoint Manager (Intune)
-
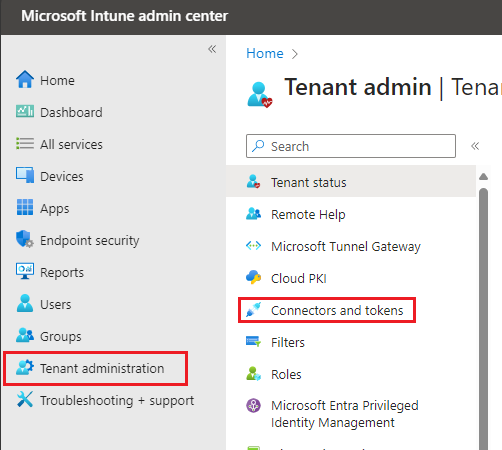
Login to the https://endpoint.microsoft.com/.
-
Select Tenant administration > Connectors and tokens
-
Select Certificate connectors
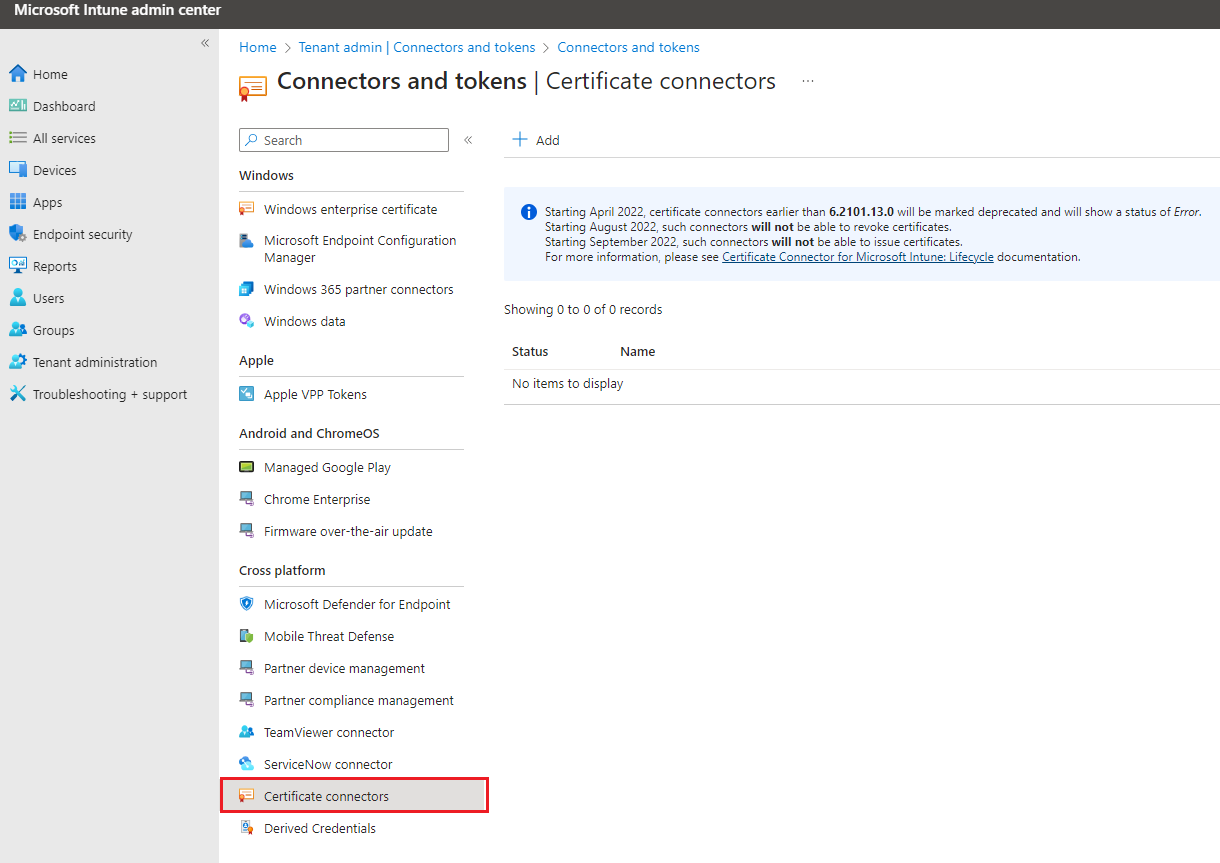
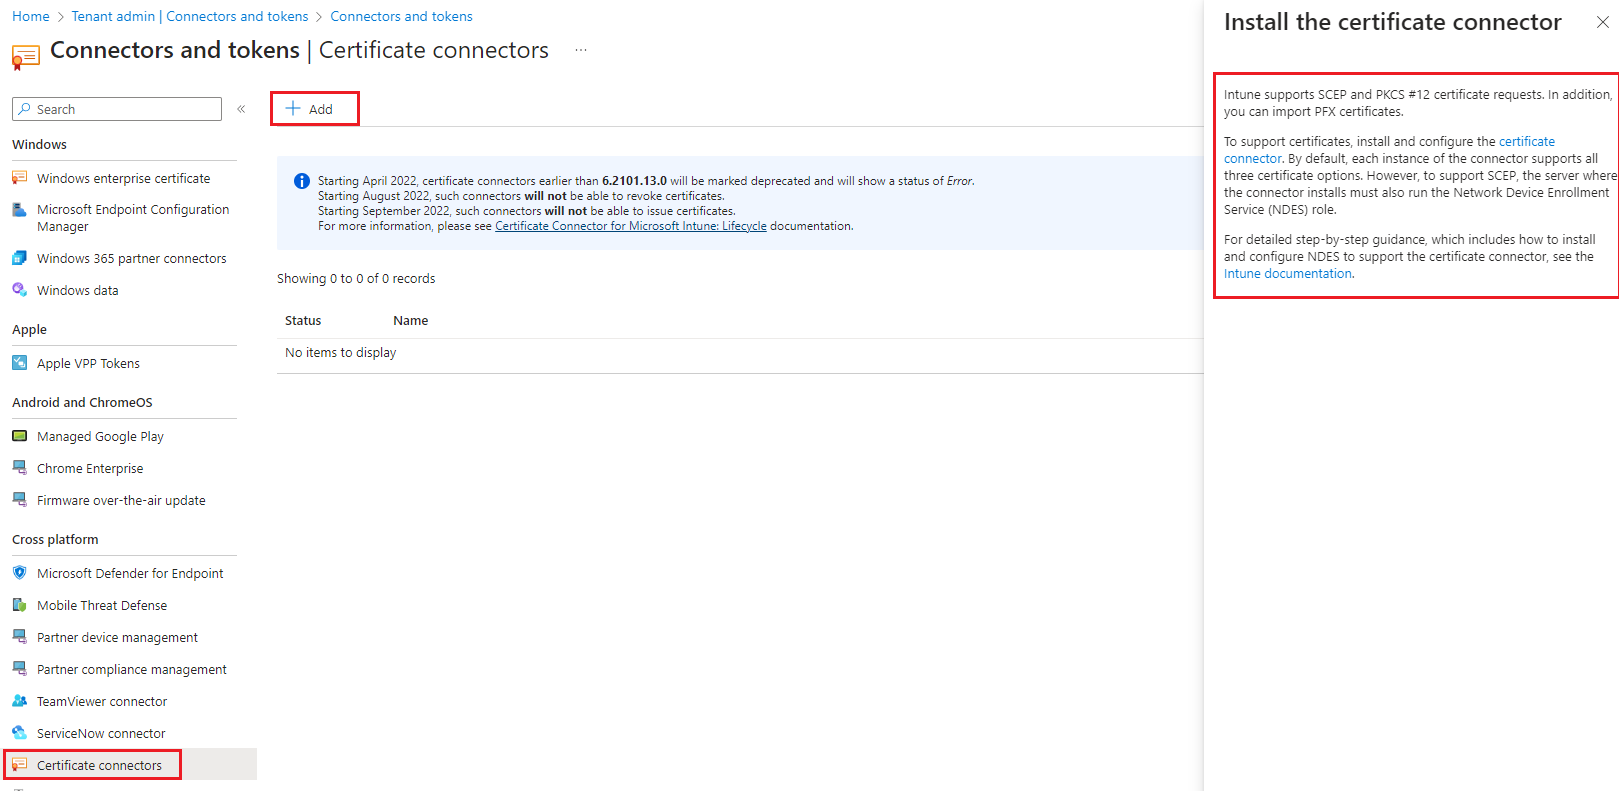
- Then select Add. Select the certificate connector link to download the connector software. Save the file to a location that’s accessible from the server where you're going to install the connector.
- Sign into the Windows Server that will host the certificate connector and confirm that the prerequisites for the certificate connector are installed.
- Use an account with admin permissions to the server to run the installer (IntuneCertificateConnector.exe).
- Review and agree to the license terms and conditions, and then select Install to continue. Select Options to choose a different installation folder.
- The connector installation takes only a moment. After installation, select Configure Now.
-
Configure the Certificate Connector
To configure the certificate connector, you use the Certificate Connector for Microsoft Intune wizard. The configuration can start automatically when you choose Configure Now at the end of a certificate connector install, or manually by opening an elevated command prompt and running C:\Program Files\Microsoft Intune\PFXCertificateConnector\ConnectorUI\PFXCertificateConnectorUI.exe
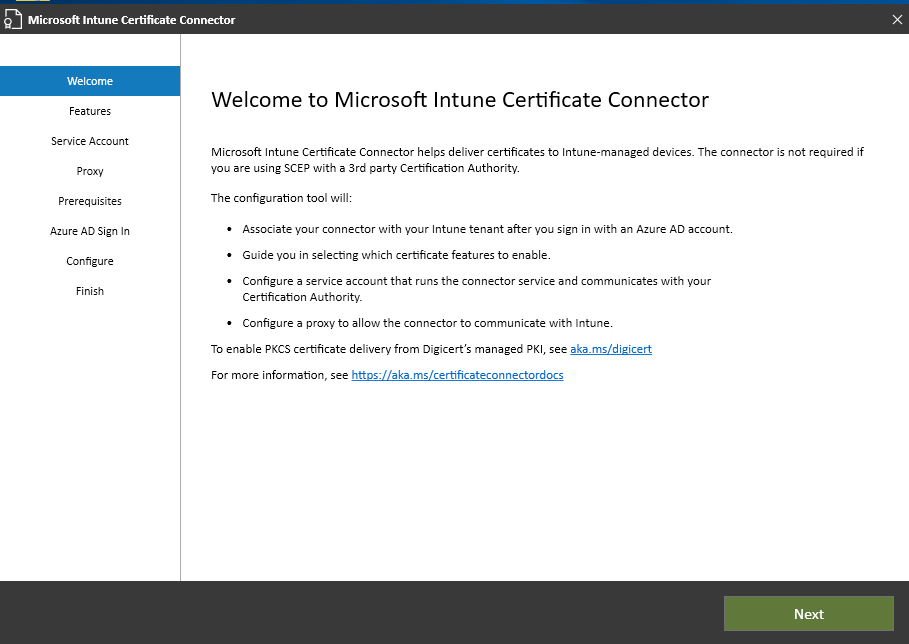
Each time Certificate Connector for Microsoft Intune starts on a server you’ll see the following Welcome page:
-
On the Welcome page of Microsoft Intune Certificate Connector, select Next.
-
On Features, select the checkbox for each connector feature you want to install on this server, and then select Next. PKCS is recommended, however options include:
-
SCEP: Select this option to enable certificate delivery to devices from a Microsoft Active Directory Certification Authority using the SCEP protocol. Devices that submit a certificate request will generate a private/public key pair and submit only the public key as part of that request.
-
PKCS: Select this option to enable certificate delivery to devices from a Microsoft Active Directory Certification Authority in PKCS #12 format. Ensure you’ve set up all the necessary prerequisites.
-
PKCS imported certificates: Select this option to enable certificate delivery to devices for pfx certificates that you've imported to Intune. Ensure you’ve set up all the necessary prerequisites.
-
Certificate revocation: Select this option to enable automatic certificate revocation for certificates issued from a Microsoft Active Directory Certification Authority.
-
-
On Service Account, select the type of account to use for the service account of this connector. The account you select must have the permissions described in prerequisites for the certificate connector service account.
Options include:
-
SYSTEM
-
Domain user account – Use any domain user account that is an administrator on the Windows Server.
-
-
On the Proxy page, add details for your proxy server if you require a proxy for internet access. For example, http://proxy.contoso.com.
Important
Be sure to include the HTTP or HTTPS prefix.
-
On the Prerequisites page, the wizard runs several checks on the server before the configuration can begin. Review and resolve any errors or warnings before you continue.
-
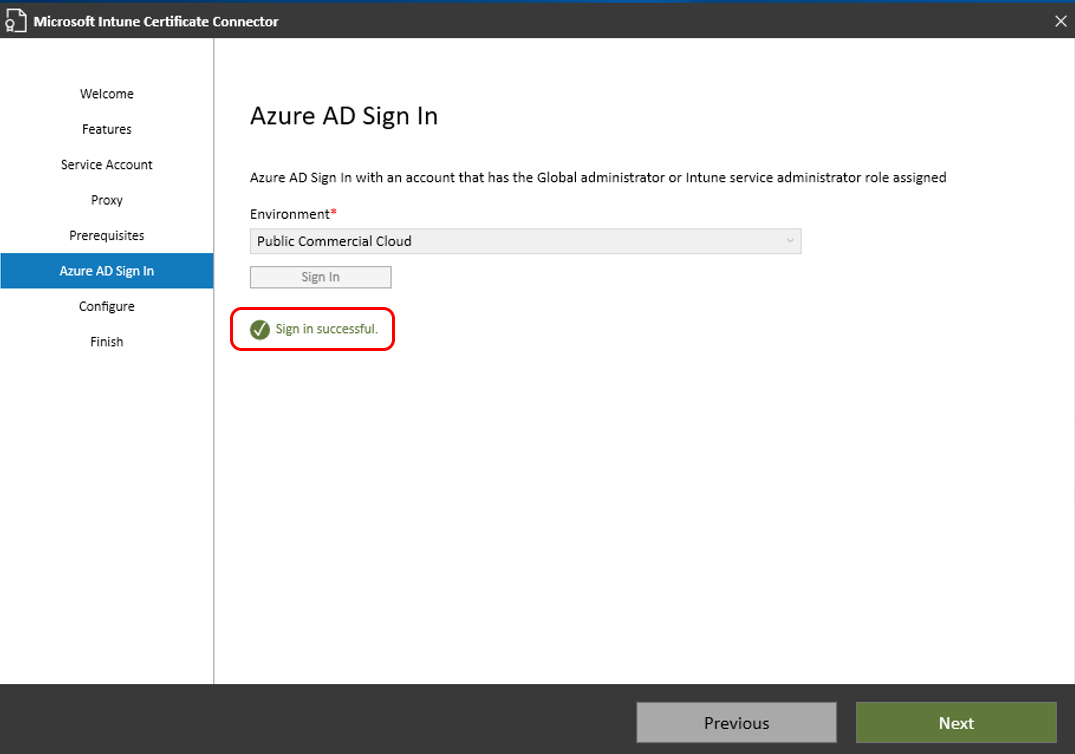
On the Entra ID Sign In page, select the environment that hosts your Entra ID, and then select Sign In. You’ll then be asked to authenticate your access. This user account must be a Global Admin or an Intune Admin with an Intune license assigned.
Unless you use a government cloud, use the default of Public Commercial Cloud for Environment.
After you successfully authenticate to your Entra ID, select Next to continue:
-
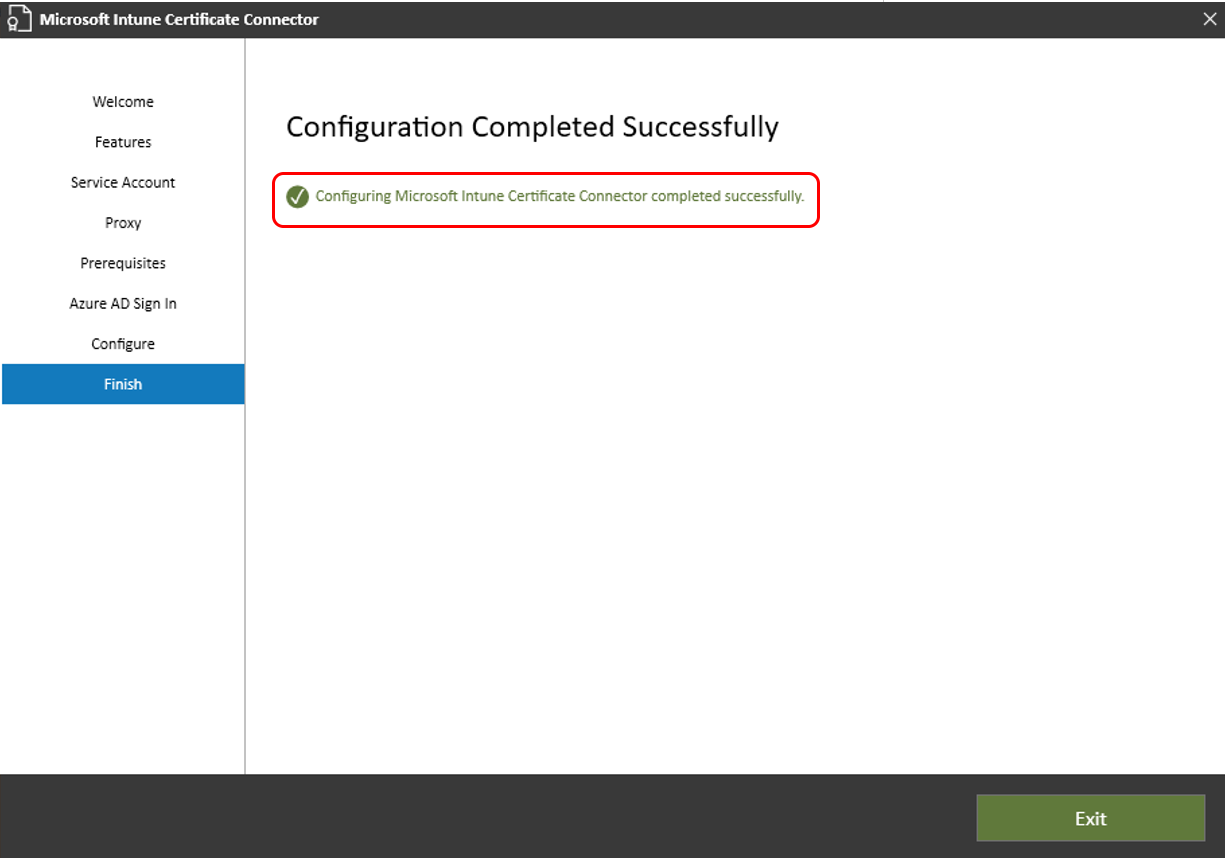
On the Configure page, Intune applies your selections to the connector. If successful, the utility continues to the Finish page where you select Exit to complete configuration of the connector.

Certificate Authority Configuration
-
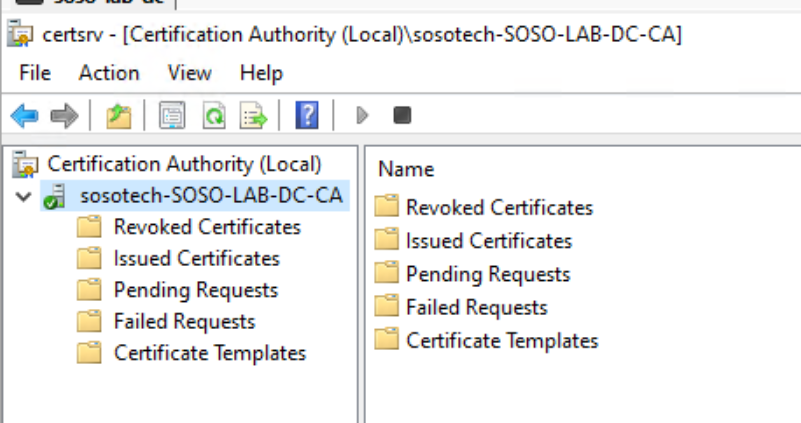
Sign into your Enterprise CA with an account that has administrative privileges.
-
Open the Certification Authority console, right-click Certificate Templates, and select Manage.
-
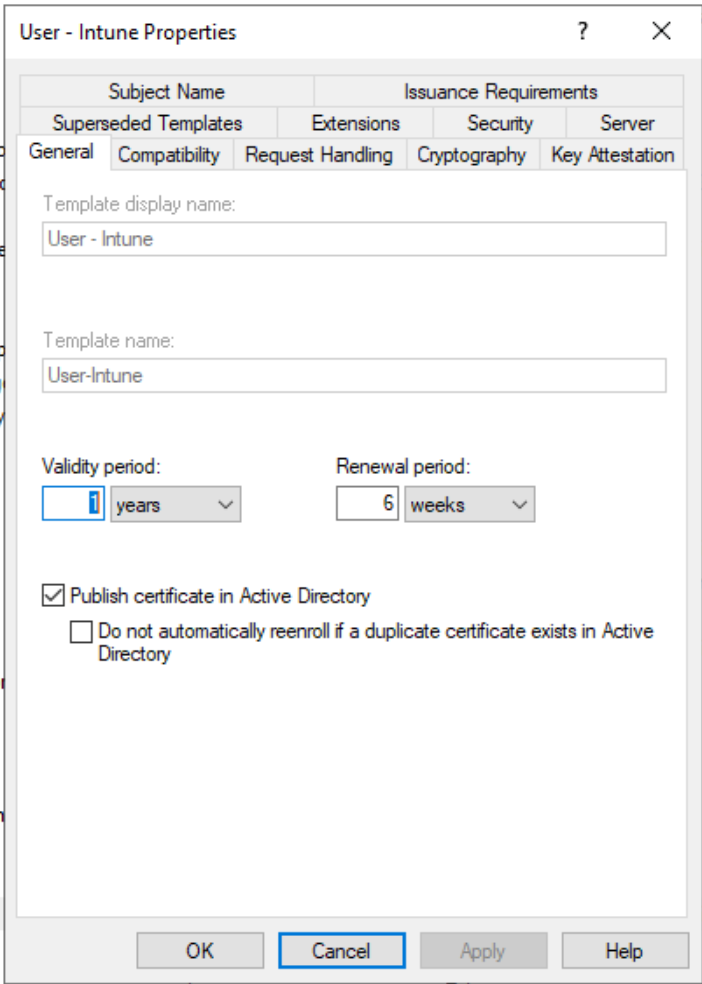
Find the certificate template (User or Device) which need to be issued from Intune, right-click, and choose Duplicate Template to open Properties of New Template.
-
On the Compatibility tab:
-
Set Certification Authority to Windows Server 2008 R2
-
Set Certificate recipient to Windows 7 / Server 2008 R2
-
-
On the General tab, set Template display name to something meaningful to you.
-
In Request Handling, select Allow private key to be exported.
NoteUnlike SCEP, with PKCS the certificate private key is generated on the server where the certificate connector is installed and not on the device. The certificate template must allow the private key to be exported so that the connector can export the PFX certificate and send it to the device.
When the certificates install on the device itself, the private key is marked as not exportable.
-
In Cryptography, confirm that the Minimum key size is set to 2048.
-
In Subject Name, choose Supply in the request.
-
In Extensions, confirm that you see Encrypting File System, Secure Email, and Client Authentication under Application Policies.
-
In Security, add the Computer Account for the server where you install the Certificate Connector for Microsoft Intune. Allow this account Read and Enroll permissions.
-
Select Apply > OK to save the certificate template. Close the Certificate Templates Console.
-
In the Certification Authority console, right-click Certificate Templates > New > Certificate Template to Issue. Choose the template that you created in the previous steps. Select OK.
-
Repeat for any certificates which need to be issued from Intune.
-
For the server to manage certificates for enrolled devices and users, use the following steps:
-
Right-click the Certification Authority, choose Properties.
-
On the security tab, add the Computer account of the server where you run the connector.
-
Grant Issue and Manage Certificates and Request Certificates Allow permissions to the computer account.
-
Root Certificate Export
To authenticate a device with VPN, WiFi, or other resources, a device needs a root or intermediate CA certificate. The following steps explain how to get the required certificate from your Enterprise CA.
Use a command line:
-
Log into the Root Certification Authority server with Administrator Account.
-
Go to Start > Run, and then enter Cmd to open command prompt.
-
Specify certutil -ca.cert ca_name.cer to export the Root certificate as a file named ca_name.cer.
Intune Configuration Information
To configure the appropriate profiles in Intune the following information is required;
-
Enterprise Certificate Authority FQDN
-
Enterprise Certificate Authority Name
-
Root CA file (exported earlier)
-
Certificate Template Name (Not Display Name)