Overview
This knowledge base article will show the steps to get started with Android Enterprise Corporate owned fully managed user devices. The steps involved are creating an enrollment profile, a dynamic security group, a device restrictions policy (optional) and approving and assigning Google Play apps.
Prerequisites
It is important to setup your managed Google Play account to be connected to your tenant as per How to setup Android Enterprise Prerequisites in Microsoft Intune?
Create an enrollment profile
1. By navigating to Microsoft Intune portal, then Enrollment then Android tab then under Enrollment profiles, select Corporate-owned, fully managed user devices.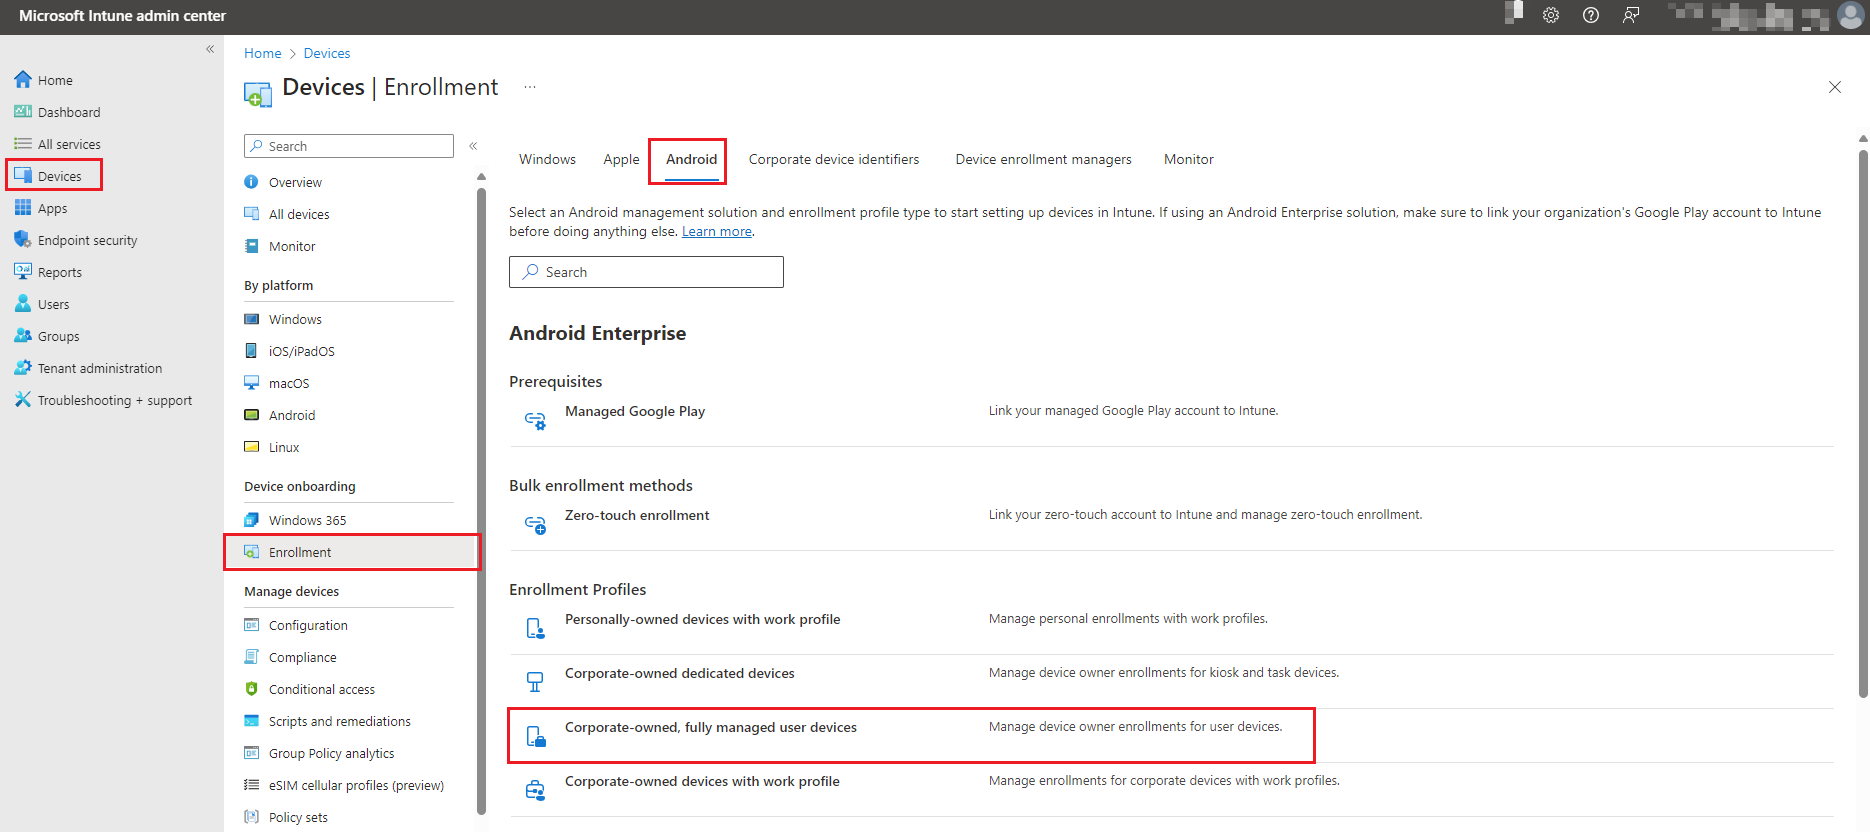
2. Under Corporate-owned, fully managed user devices, select Create profile.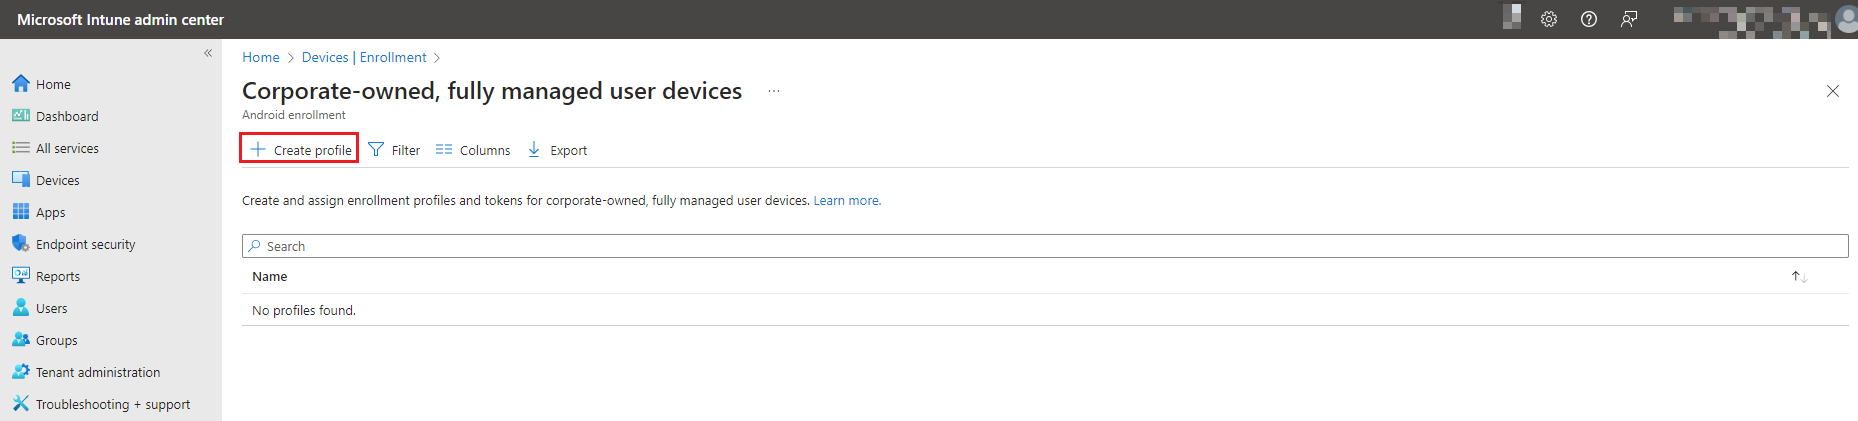
3. Under create profile, enter the following:
Name: Corporate-owned, fully managed user devices
Description: Corporate-owned, fully managed user devices
Token type:
The default token, corporate-owned, fully managed, enrolls devices into Microsoft Intune as standard Android Enterprise corporate fully managed devices. This token requires you to complete pre-provisioning steps before you distribute the devices. End users complete the remaining steps on the device when they sign in with their work or school account.
The device staging token, Corporate-owned, fully managed, via staging, enrolls devices into Microsoft Intune in a staging mode so that you or a third party vendor can complete all pre-provisioning steps. End users complete the last step of provisioning by signing into the Microsoft Intune app with their work or school account. Devices are ready to use upon sign-in. Intune supports device staging for Android Enterprise devices running Android 8 or later.
In this KB, 'Token type: Corporate-owned, fully managed (Default)' has been selected.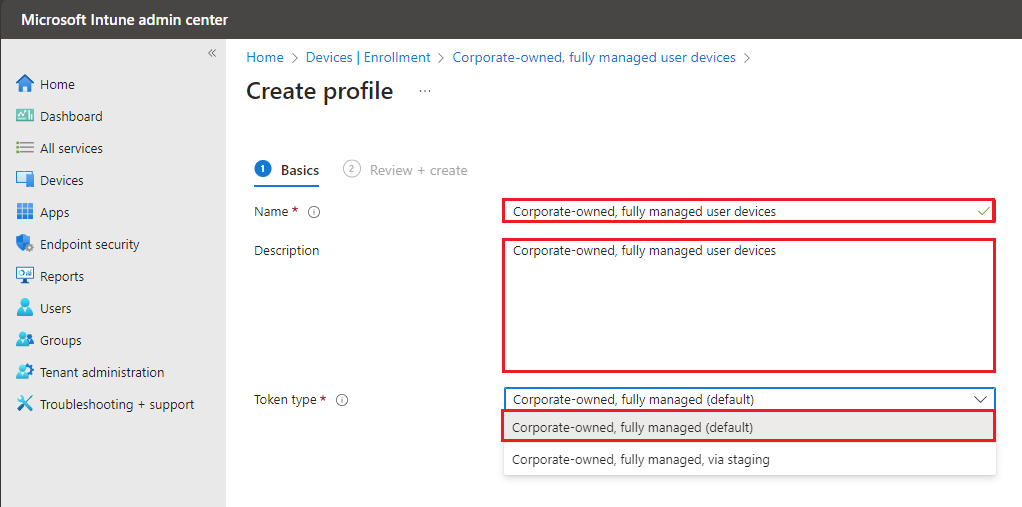
Then select Next.
4. Under Review + create, select Create.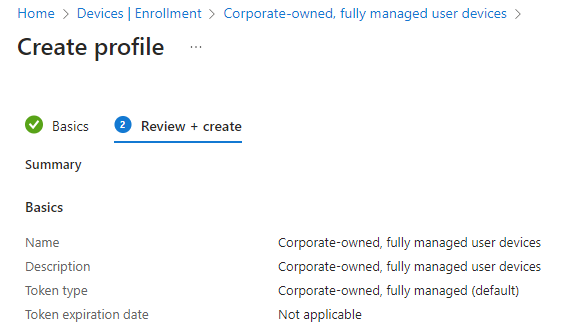
5. Once the profile is created, click on the profile.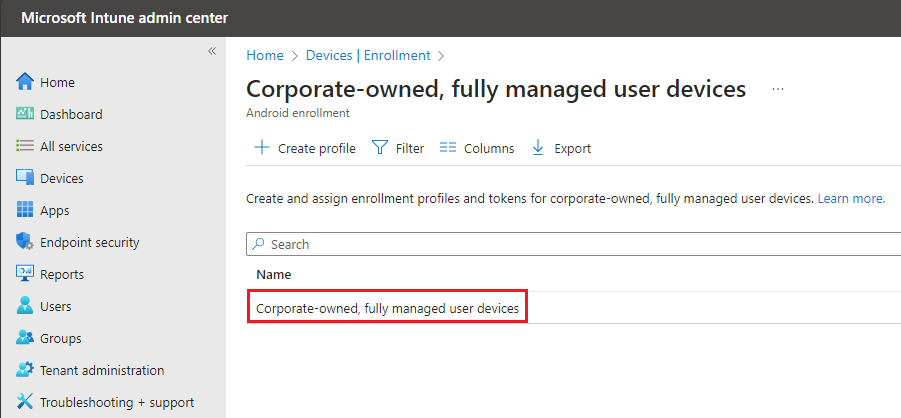
6. Select Token.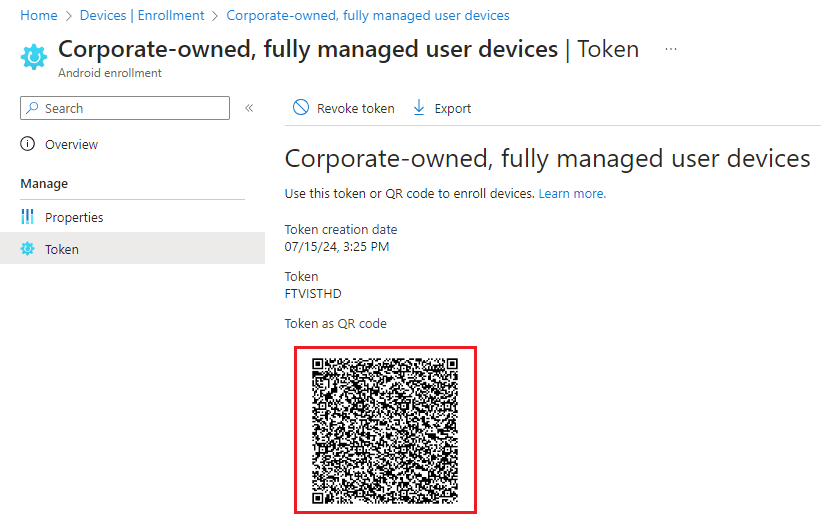
Create dynamic security group
You can follow this KB: How to create Entra dynamic groups for Android Enterprise enrolments? – Devicie Support Home Go to Step 5.
Create and assign apps
You can follow this KB: How to add and assign Managed Google Play store apps for Android Enterprise? on how to add the Managed Home Screen App.
Make sure the apps are assigned to group: Corporate-owned, fully managed user devices as Required.
Create Device Restriction Policy
View the following How to create Devicie Configuration profiles for Android Enterprise devices? – Devicie Support Home on how to create Device Restriction Policy for Android Enterprise devices under Device Restriction Policy for Android Enterprise: Corporate-owned, fully managed user devices (COBO)
Create App Configuration Policy
View the following How to create App Configuration Profiles for managed Android Enterprise devices? – Devicie Support Home on how to create App Configuration Policy for Android managed apps.
Setup and Enroll
Do a Factory Data Reset:
Hard Reset Process - IF PHONE IS BRAND NEW IN THE BOX and is OFF:
If phone is off, press the volume UP button at the same time as the power button and hold until an OS menu comes up
Select Factory Data Reset
If phone is new and has been turned on but not reset and is at the Welcome screen:
Press volume down and power to shut down
Follow hard reset process above
IF PHONE IS ALREADY ON and set up:
Settings > Scroll down to General Management > Reset > Factory Data Reset > Delete All
1. Start up the device, and it will bring you to Hello message with a "Arrow".
Note: Do not go through the wizard.
At the "Hello" or "Welcome" screen, tap six times in a blank area.
2. This will now load to "Scanning for a QR Code" on the Android device.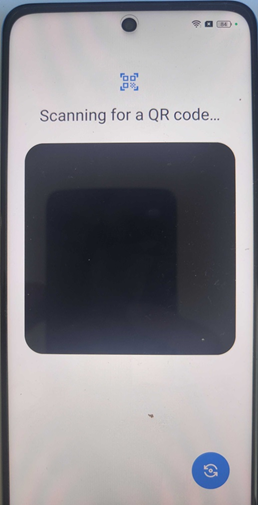
Place the QR Code scanning on the token below to the profile.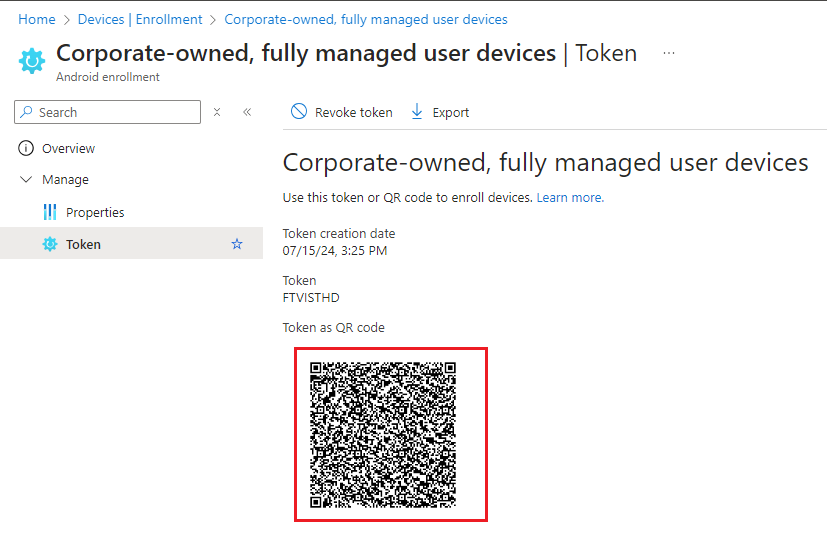
3. It will then load with "Connect to WiFi", connect the required WiFi then it will begin with "Setting up"
4. It will then display "This device belongs to your organisation", select Next.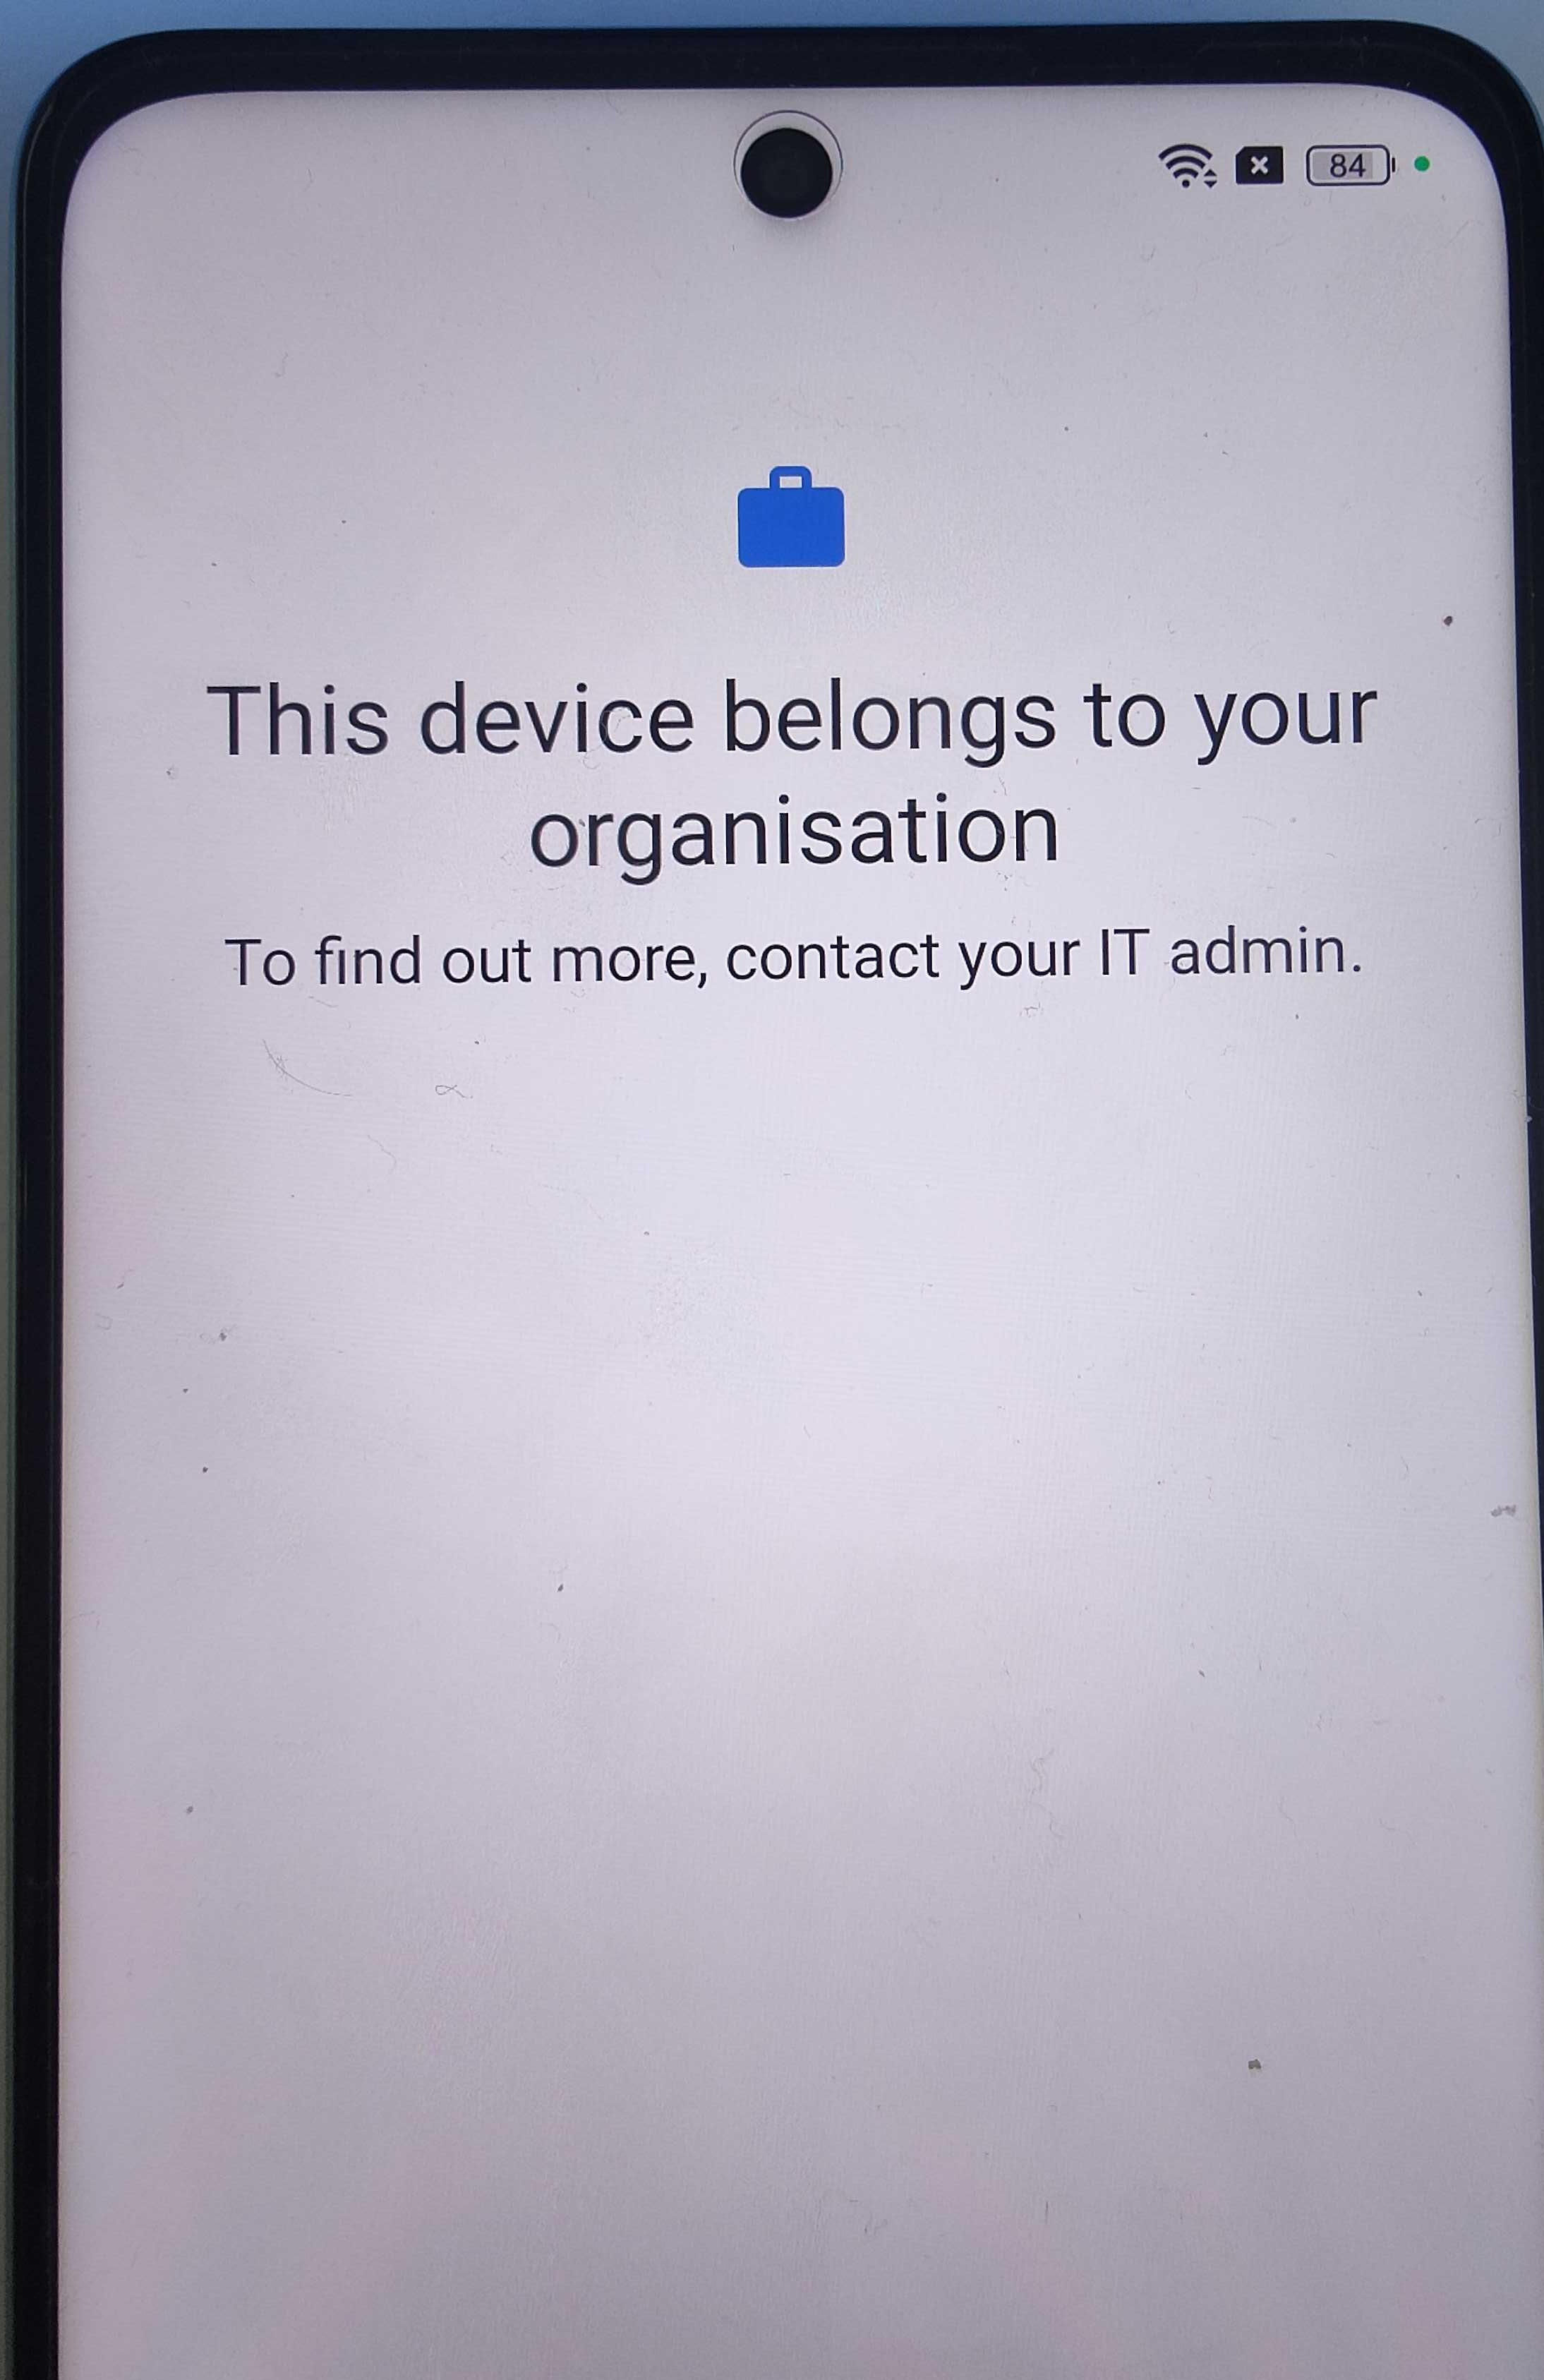
5. It will then display "Let's set up your work device", select Accept and continue.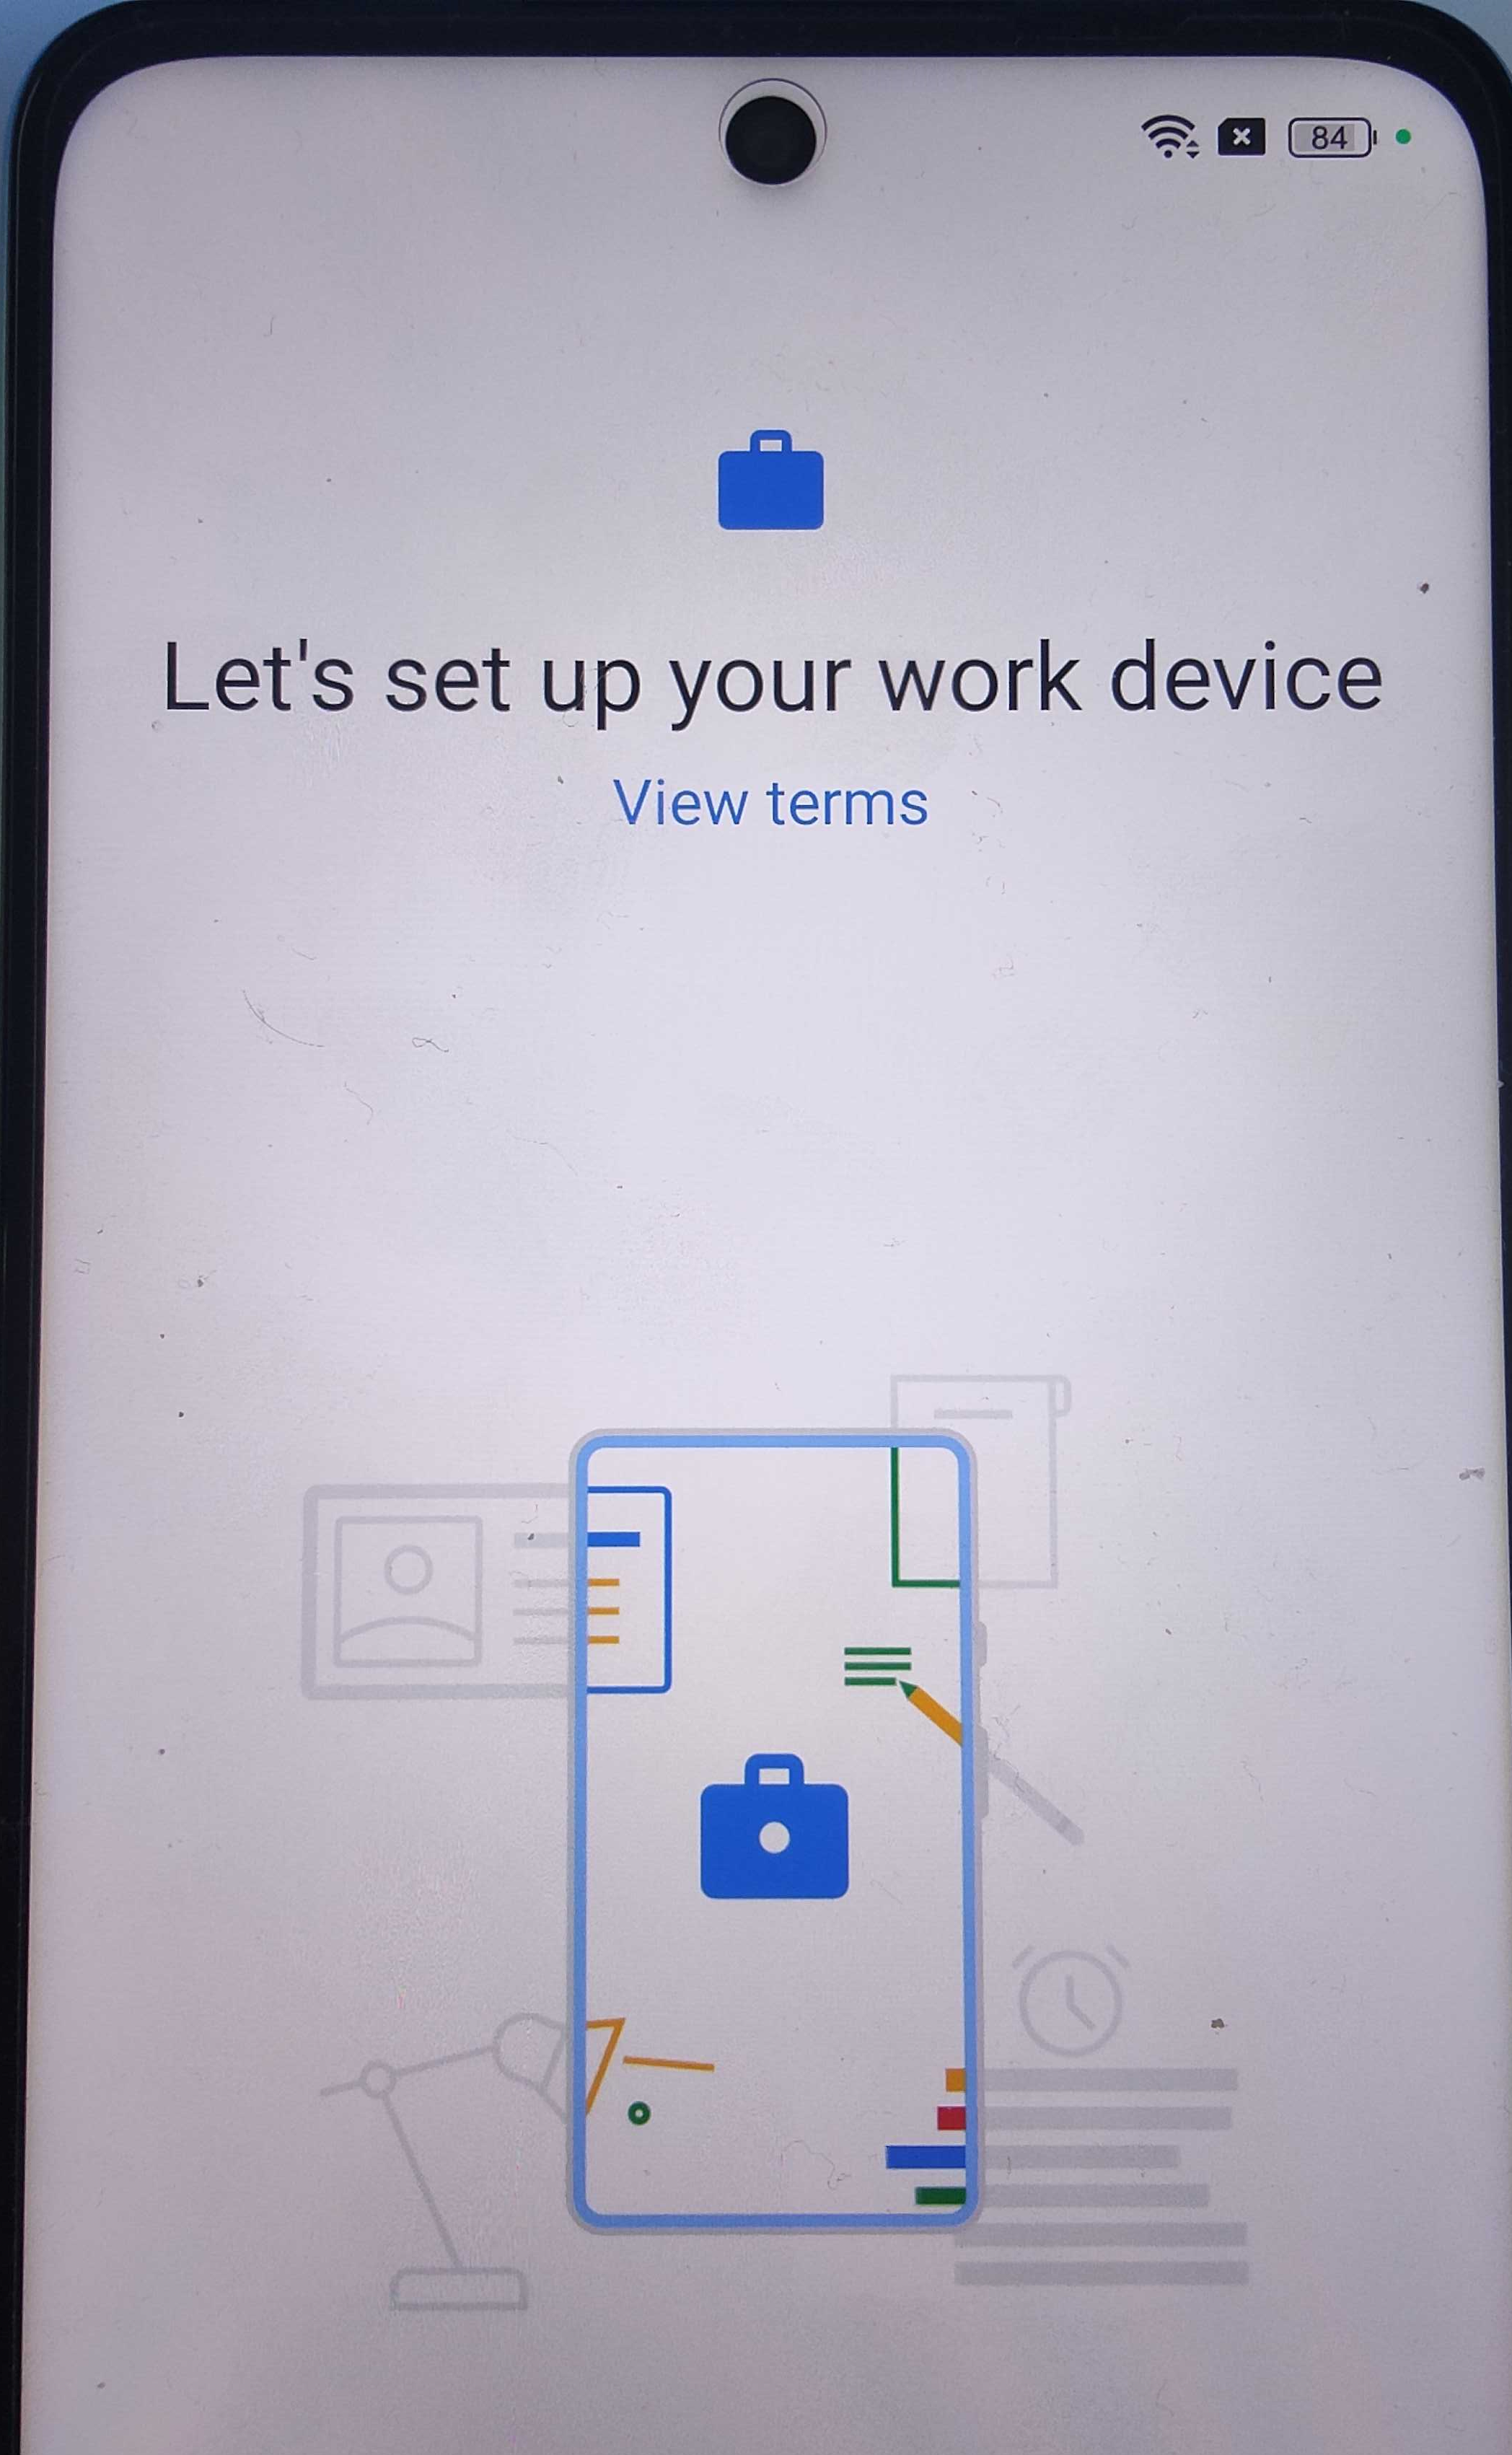
6. It will then display "This device isn't private", select Next.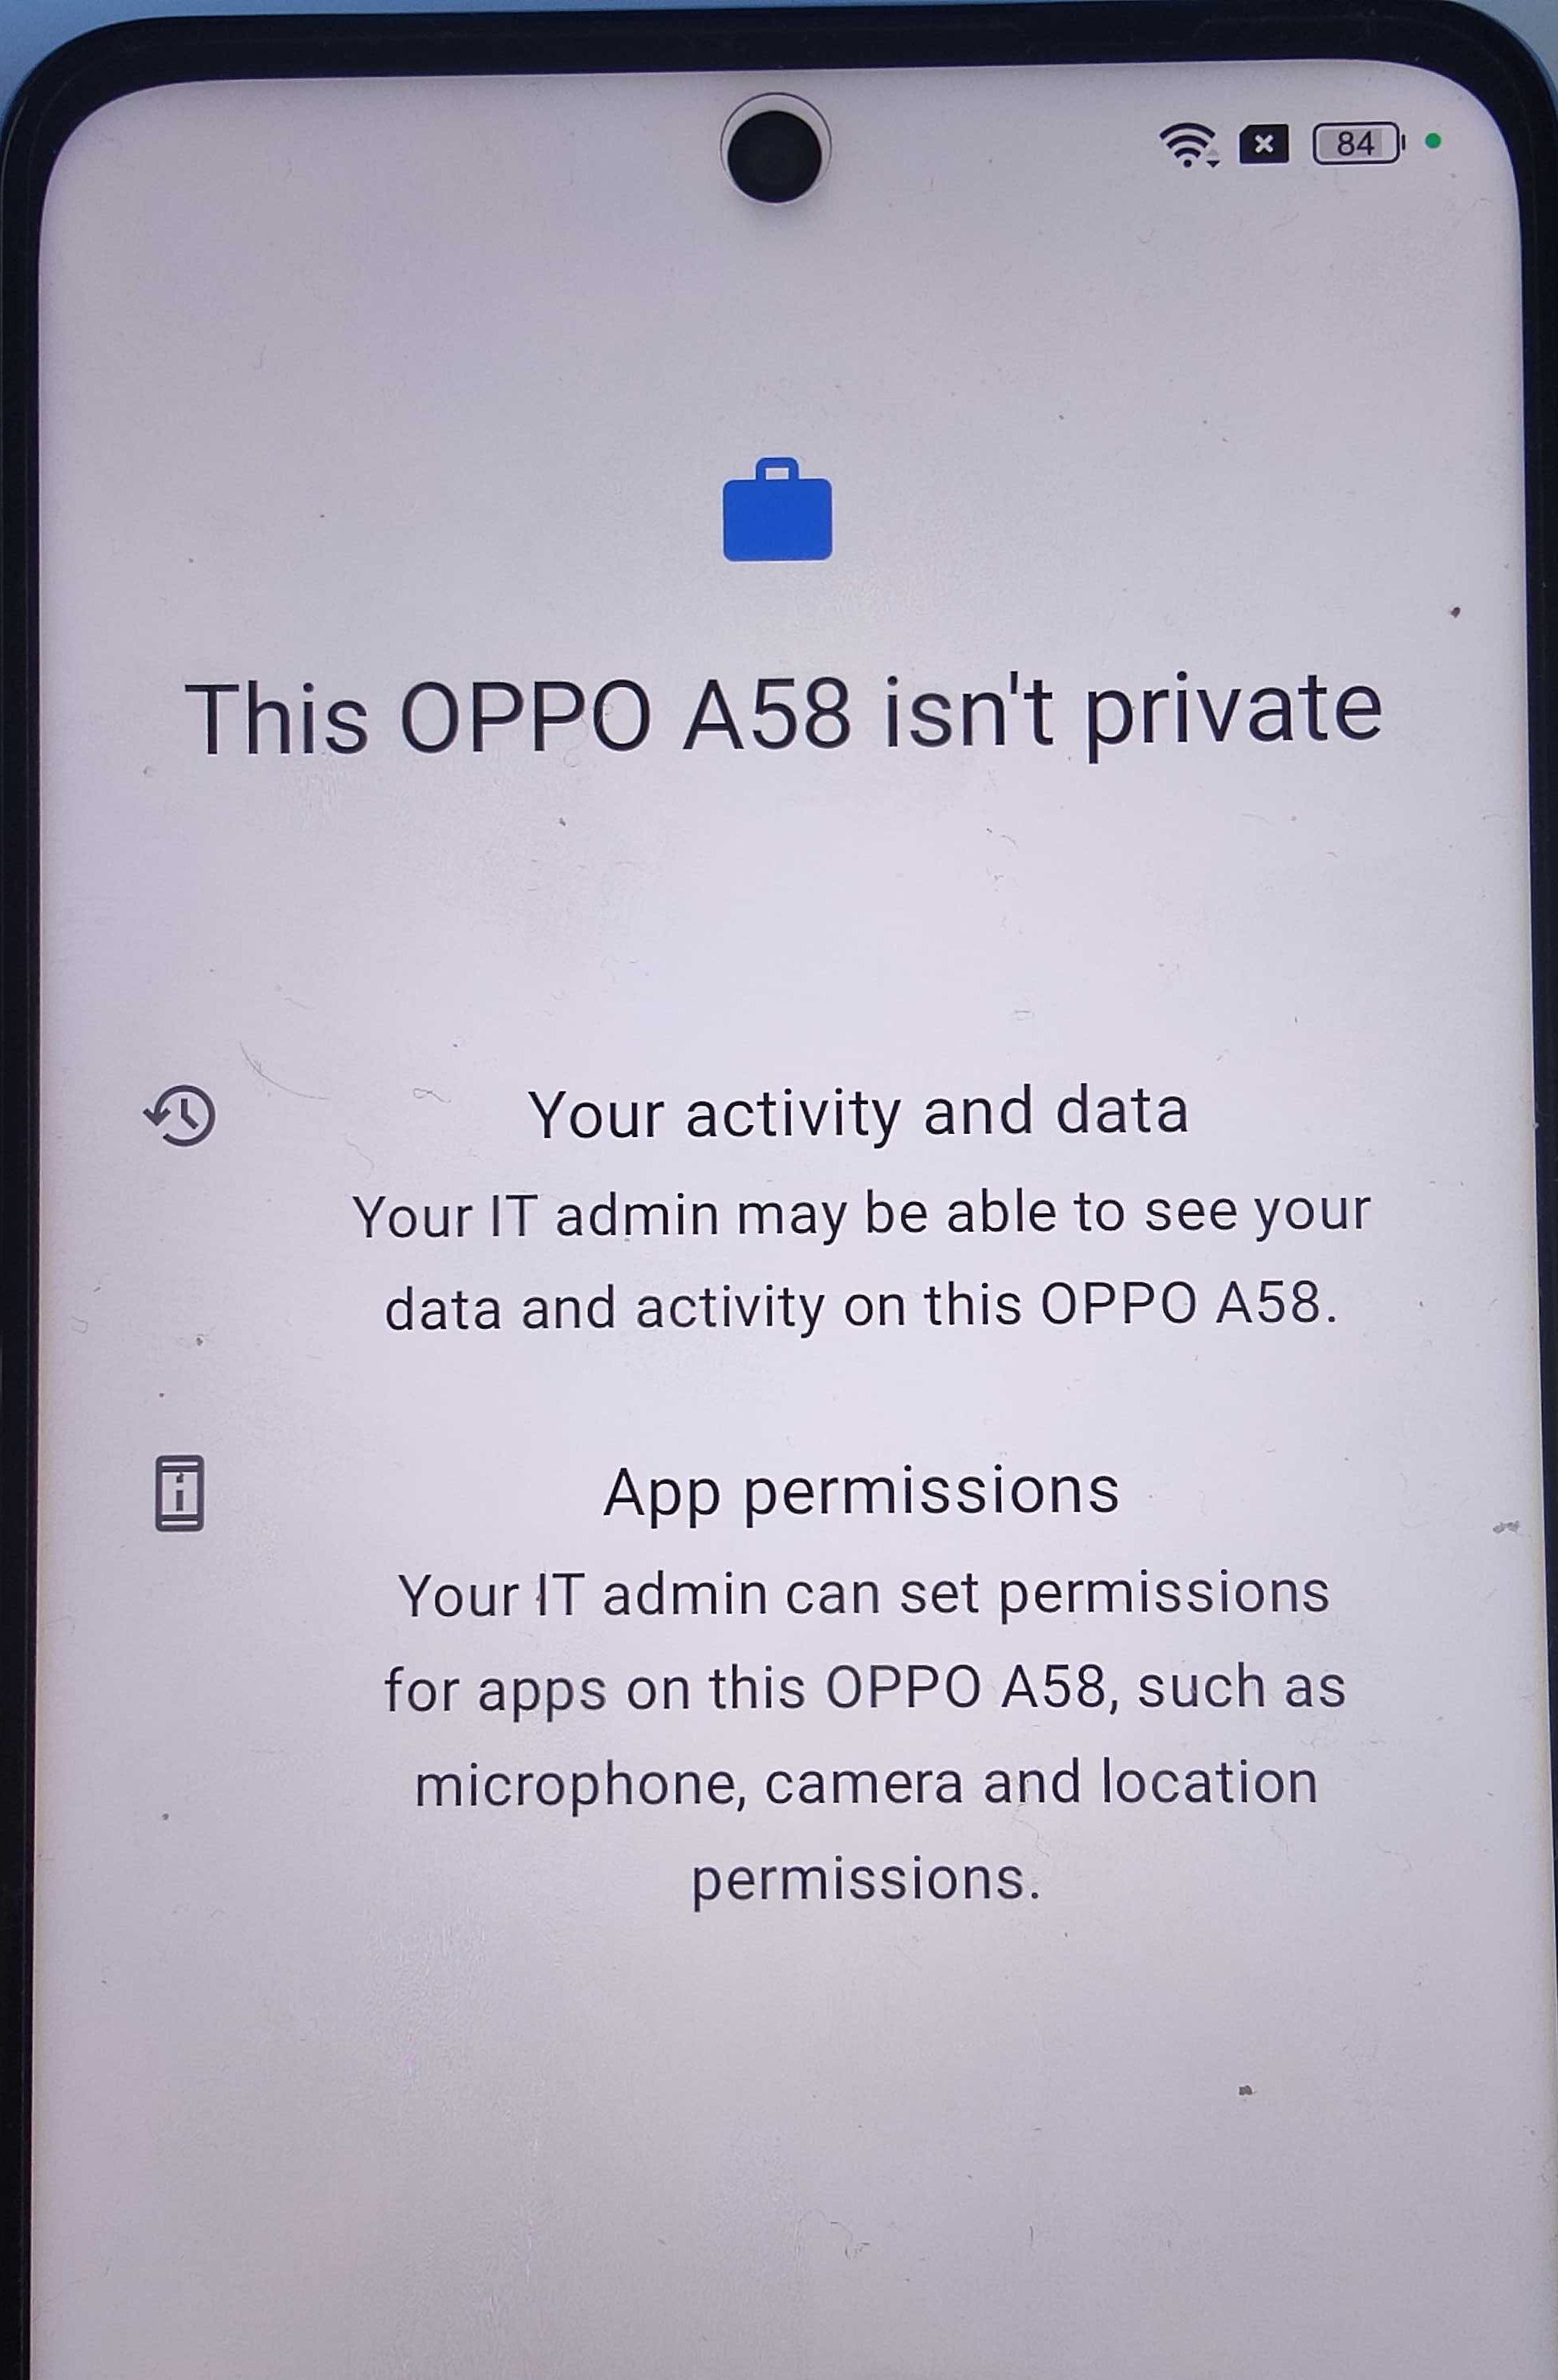
7. It will then load Google Chrome then load to login.microsoftonline.com, login with your username, then select Next. Then enter your password followed by an MFA prompt.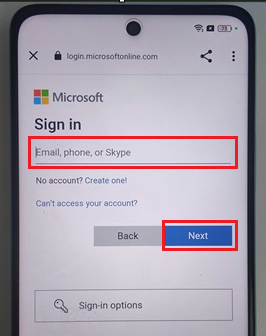
8. It will then display "Setting up device"
9. Select Install.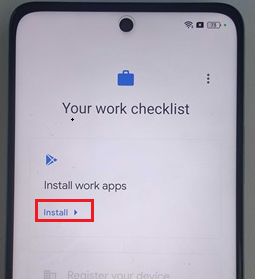
10. It will then begin to install the required work apps.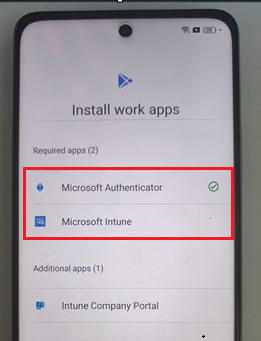
11. Select Done.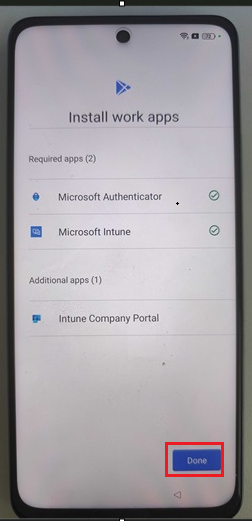
12. Select "Set up"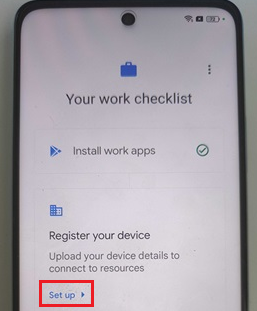
13. It will then load Microsoft Intune App, select Sign In. Then enter in Password when prompted.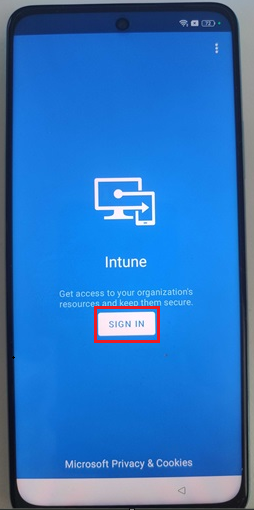
14. Select Register.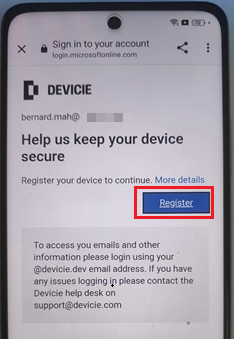
15. Select Continue.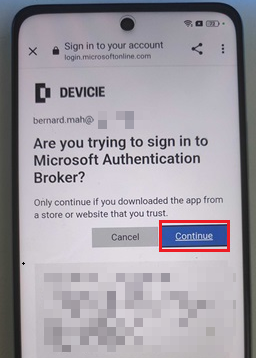
16. Select Done.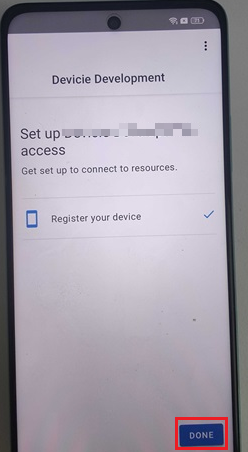
17. It will then display "Updating device"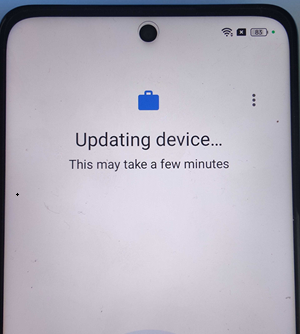
18. It will then load to Google Services, select More then select Accept. Then select Get Started.
19. After device has been enrolled and registered, navigate back to the Microsoft Intune groups to view Corporate-owned, fully managed user devices.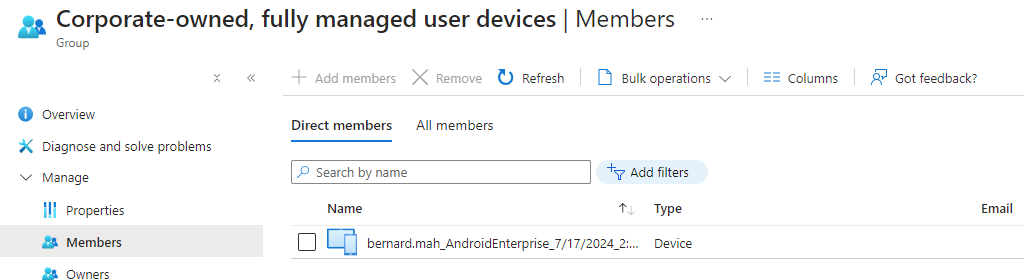
20. Under Managed Apps, we can see it has successfully installed the apps set as "Required".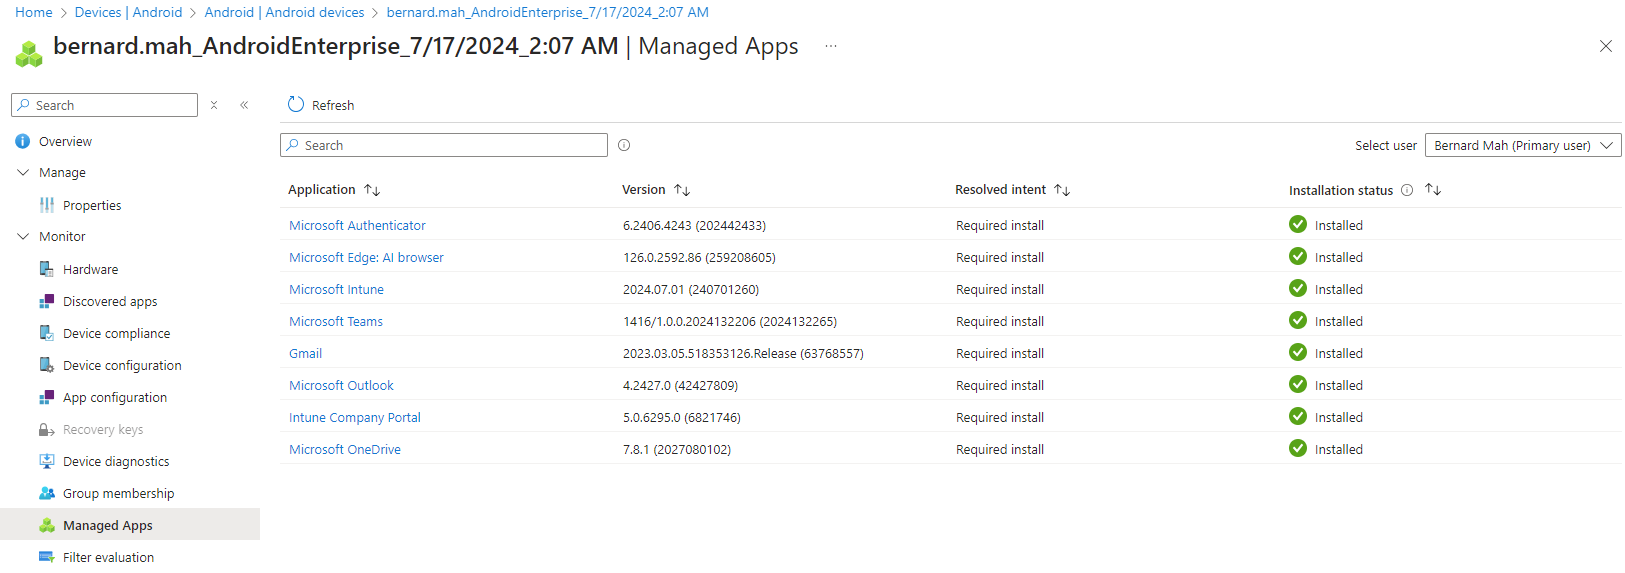
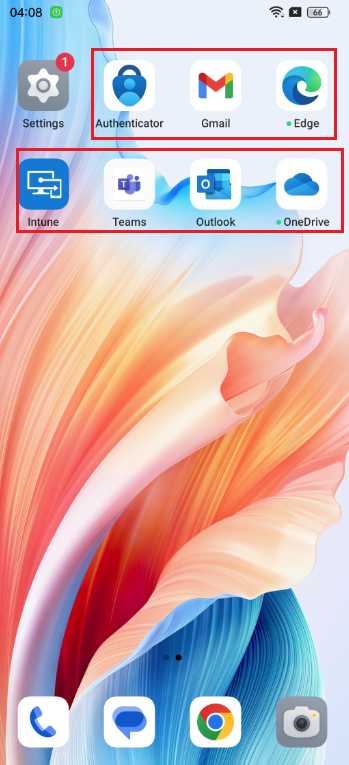
21. The end result will look like this.