OneDrive allows you to backup up to 5 GB of data for free, or as with most organisations, users with Office365 license can backup up to 1 TB of data using their Office365 account.
Provided you have OneDrive installed and setup in your organisation and you have an Office365 license, follow the below steps to setup your device to backup your data and files to your OneDrive account.
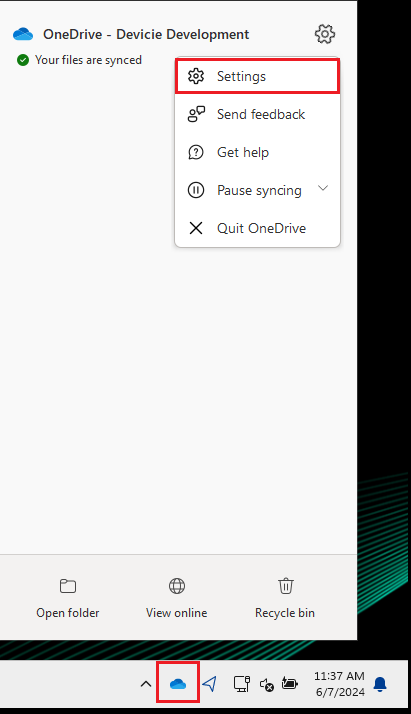
- On the far right in the task bar click on the cloud (OneDrive icon). Click on Help & Settings then click on Settings.
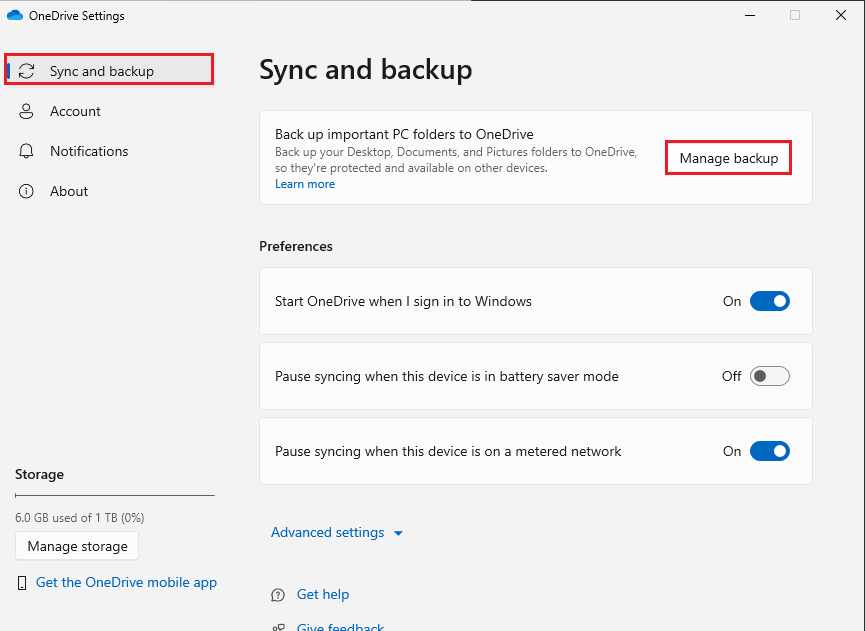
- Go to the Backup tab and click on Manage backup.
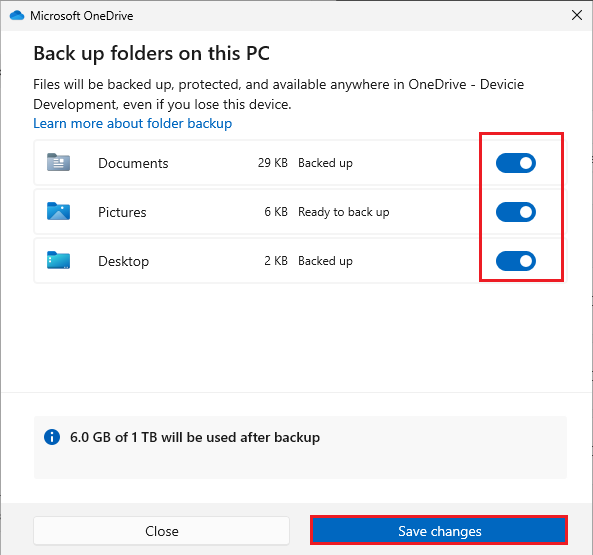
- Select the folder you want to backup. The selected folders will have a blue tick on them. Then click on Save Changes.
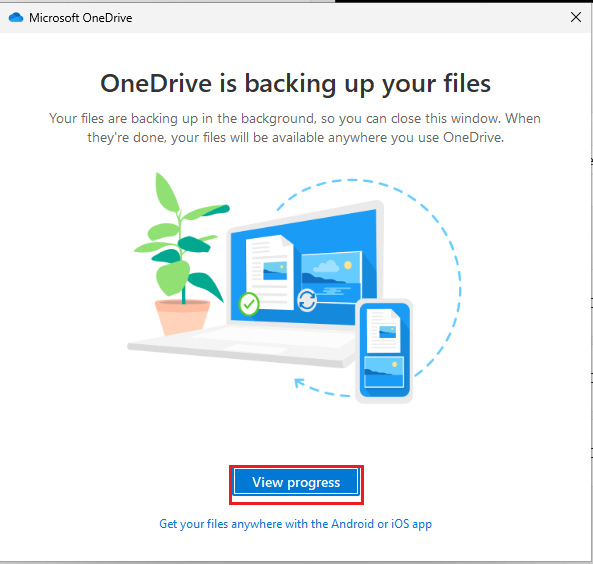
- The backup process will start. Select View Progress.
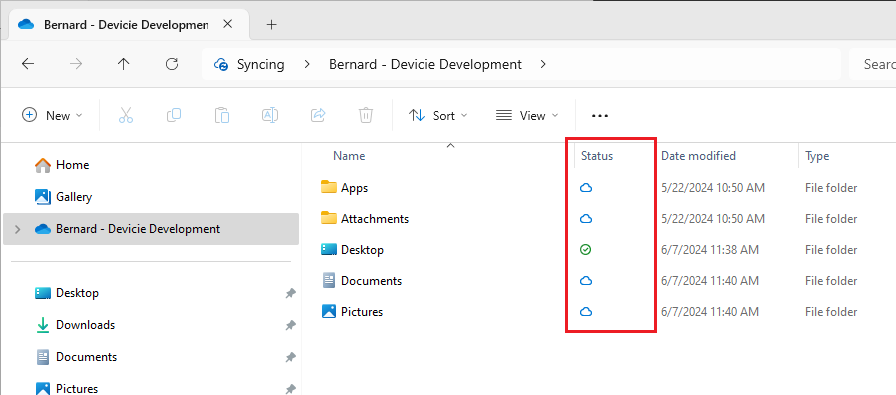
- When a folder finishes backing up, a green tick box will appear next to it. If the folder is still backing up or syncing, then a blue sync button will appear next to it.
Note:
If you have data and files in your Downloads, C:\ drive or any location other than Desktop, Documents, or Pictures, then you want to move the files and data to your Desktop, Documents, or Pictures for them to be backed up.
Folders that are set to backup will continuously sync whenever a change happens on them such as removing files, editing files, adding new files, etc...