Overview
This knowledge base article provides step-by-step instructions how to use Microsoft Intune to add SMB file shares with Microsoft Intune to Windows Devices.
If you encounter any issues when trying to copy the SMB file share hyperlink from Explorer to Outlook, you may see this:
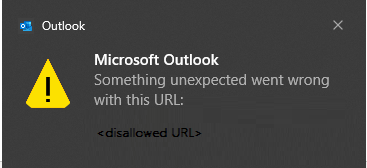
And in Event Viewer, you may see this about the path:
This is a known issue and there is a written article by Microsoft.
There is a related KB on a step by step: How to use Microsoft Intune to setup Trusted sites for Windows devices.
Steps
1. Navigate to Microsoft Intune portal, select Devices then select By platform: Windows then select Configuration profiles.
2. Select Create then select New Policy then select By platform: Windows 10 and later and Profile type: Settings Catalog then select Create.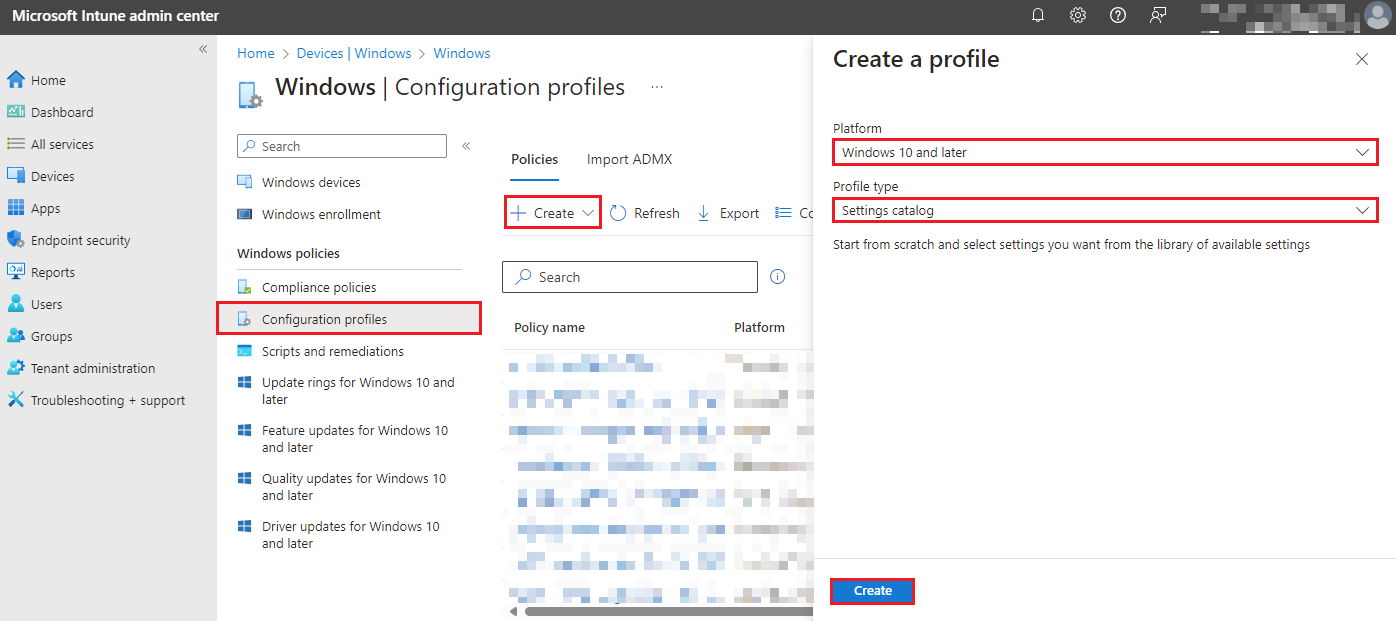
3. Under Basics tab, enter the following:
Name: Site to Zone Trusted Sites
Description: Site to Zone Trusted Sites
Then select Next.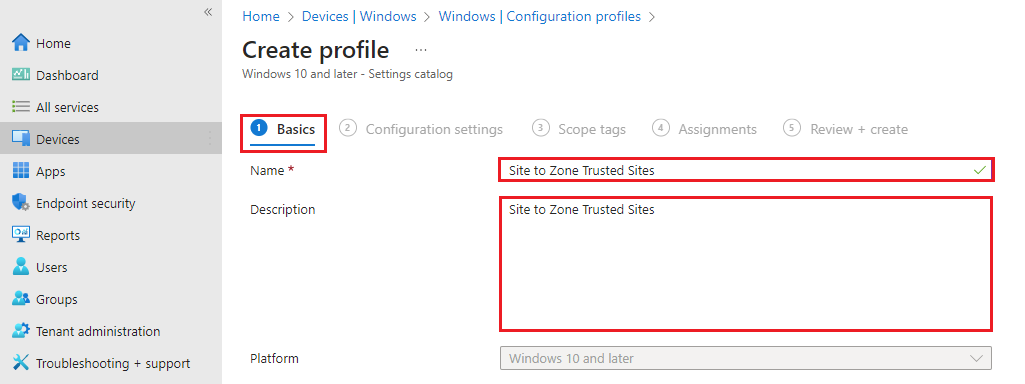
4. Under Configuration settings tab, select Add settings. In the search for a setting, enter in site to zone then select Search. Click on Site to Zone Assignment List.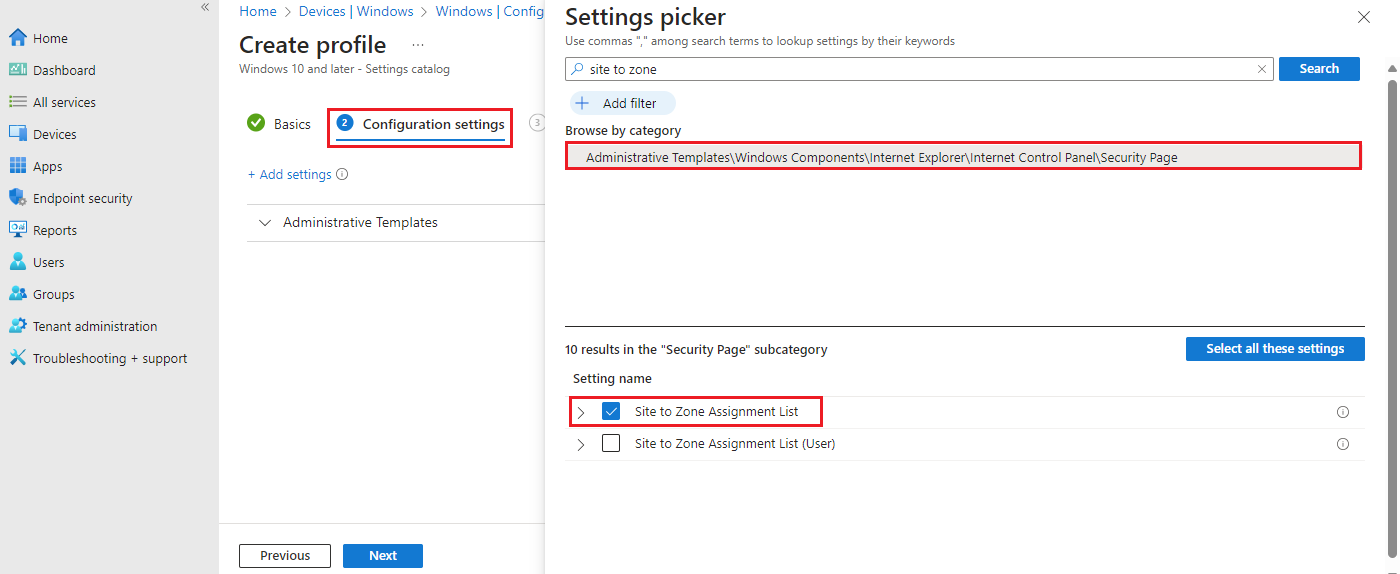
Select Site to Zone Assignment List as Enabled.
Enter the following zone assignments:
| Name | Value |
| https://companyname-files.sharepoint.com | 2 |
| https://companyname-myfiles.sharepoint.com/ | 2 |
| file://\\ServerName.companyname.net/* | 2 |
| \\ServerName.companyname.net\* | 2 |
The list of values for zone assignments are:
1 = Intranet
2 = Trusted Sites
3 = Internet Zones
4 = Restricted Zones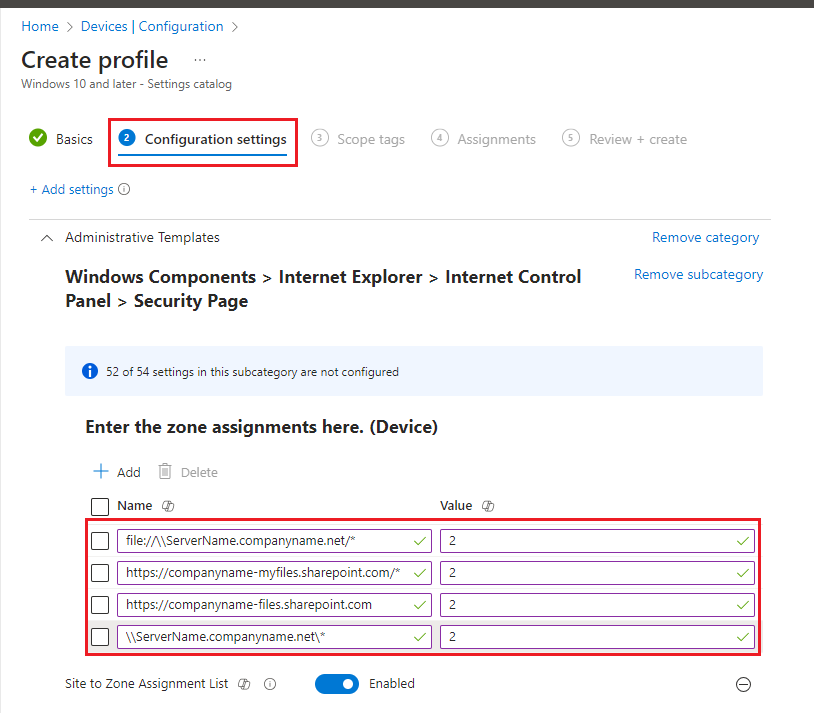
Select Next.
5. Under Scope tags tab, leave as default then select Next.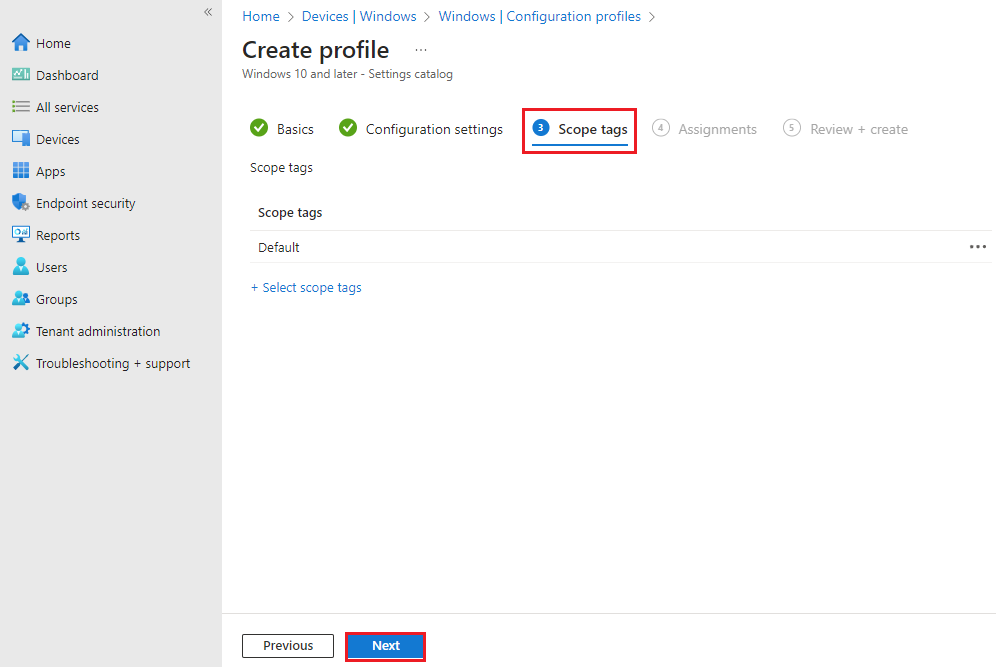
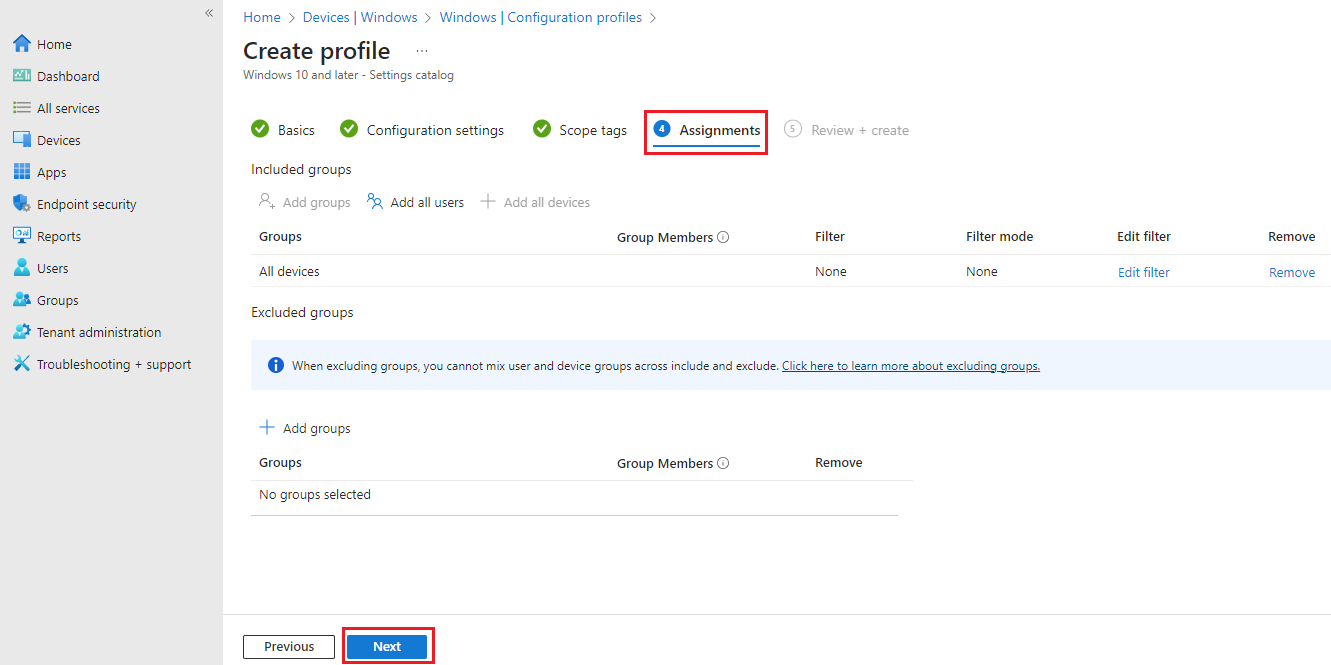
6. Under Assignments tab, select your assignments and choose Next.
7. Under Review + Create, review your settings and select Create.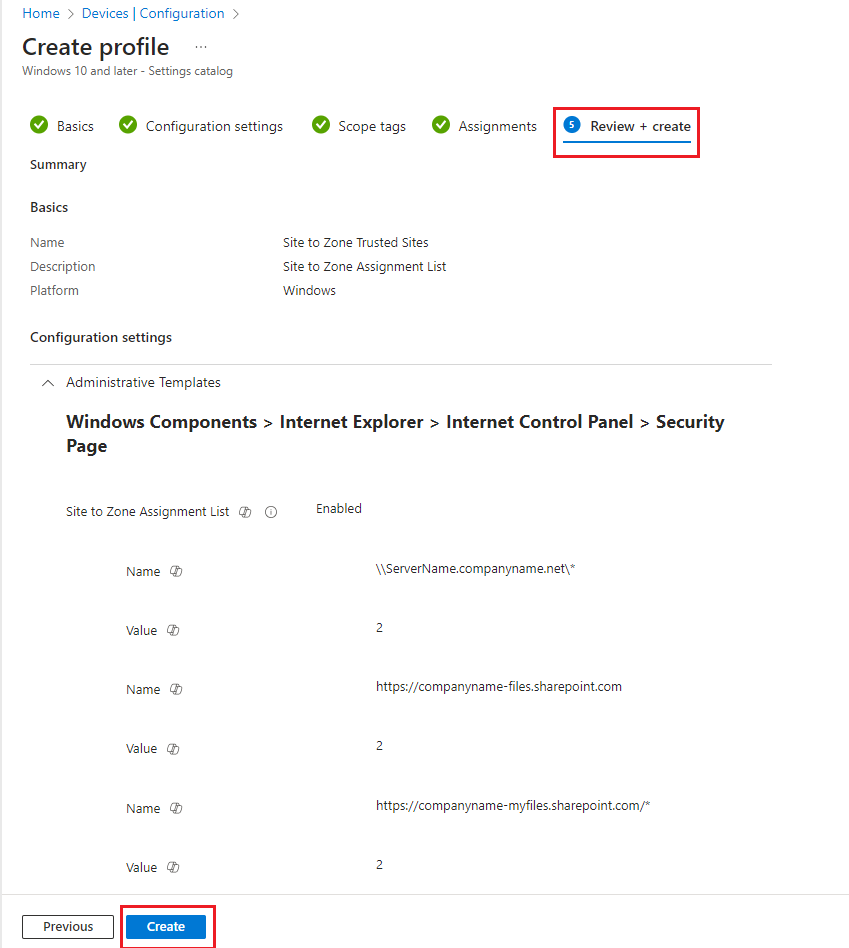
8. Go to your device, open up Company Portal and run Sync.
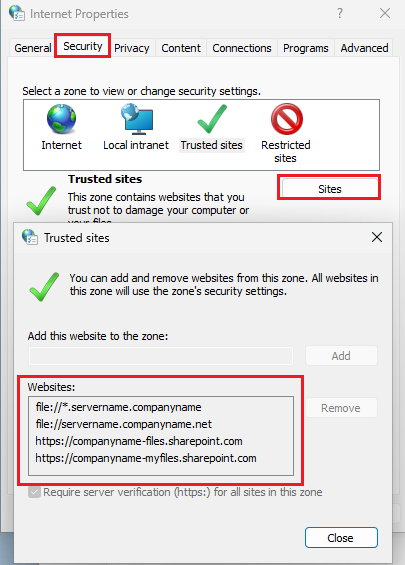
9. On the device, in Search type in: Internet Options, then select Security tab then select Trusted Sites then select Sites which will show you the list of Trusted sites.